Learn How You Can Take Better Photos of Your Family
I am one of the co-leaders of the Boulder County Chapter of the Holistic Moms Network.
It is just something I enjoy doing, and I’ve met a few wonderful women in the process. In addition to meeting these amazing women (men are welcome too!)(all caregivers are!), my other favorite part of the organization are the speakers we bring in to talk about various topics. We’ve had a Stacy St. Germain of Be Balanced Healing come in and talk about healthy school lunches. We’ve learned about homeopathic medicine (the Cold Calm didn’t seem to work for me once I got hit with a cold a couple weeks ago–so sad). At our last meeting, I gave a talk on DIY Holiday Card Photos.
I thought that this would be great, helpful, timely information to share with wedding couple, parents, pet owners…anyone who wants to send out a holiday card but won’t be scheduling a professional photo session to get those photos. (Of course, I think you should schedule a professional photo session to capture images that will last a lifetime of your loved ones, but I understand it isn’t always in the cards.)(Or maybe you had a summer session, and want more photos that reflect fall/winter vibes.)(Whatever, I just want to help you out!)
Keep reading for tips for DIY Family Photos.
#1 – Know Your Gear
Some of you only have phone cameras, others of you have fancy schmancy DSLRs. Sure, a professional camera like the one I use can capture better photos, but if you don’t know how to use light or if you don’t know how to use the camera features, it isn’tt going to help you. An iPhone or other smart phone camera can do the job too!
If you are using a camera phone, here are my tips:
- Do not use the zoom feature. Move the camera/use your legs to get the distance you want away/towards your loved ones.
- Turn off that darn flash.
- If you plan play a lot with DIY family photos, consider in investing in a tripod, like the Joby Griptight GorillaPod. Or you can rig your own support system.
- Know how to use the self-time before you set up the shot…kids aren’t going to want to wait for you to figure it out on the spot. (And be sure to use a 10-second self-timer.)
- Be careful on the post-photo filter. Of course, create the look you want, but I strongly believe that capturing natural colors will better create timeless photos that have a better mental lifespan.
 If you are using a “real camera,” here are my tips:
- Again, turn off the flash. If your camera has a built-in flash, you may need to consult your manual to learn how to turn it off.
- And again, if you plan to do a lot of DIY family photos, it may make sense to invest in a tripod. You don’t need a fancy one…just one that is small and easily portable. (Unless you live in a wind tunnel. Then maybe bigger is better.)
- Setting up focus with a “real camera” can actually be a challenge. I would get an adult (or a large object) to stand-in while you do a couple test shots. Once focus is set, do not move your camera. Bring in everyone to stand/sit/pose/play in the exact spot your test subject was located.
- While you have your adult/large object/willing model handy to set your focus, be sure to frame the photo. Do you want to show a lot of the background? Just a little bit? Do you want everyone off to the side to create a little interest? Frame the photo while you are setting the focus.
- Set the self-timer. (You will want to know how to do this before you focus the image so that you don’t accidentally mess up focus.)(And consult your user manual on how to set the self-time for 10 or so seconds.)
#2 – Study the Light
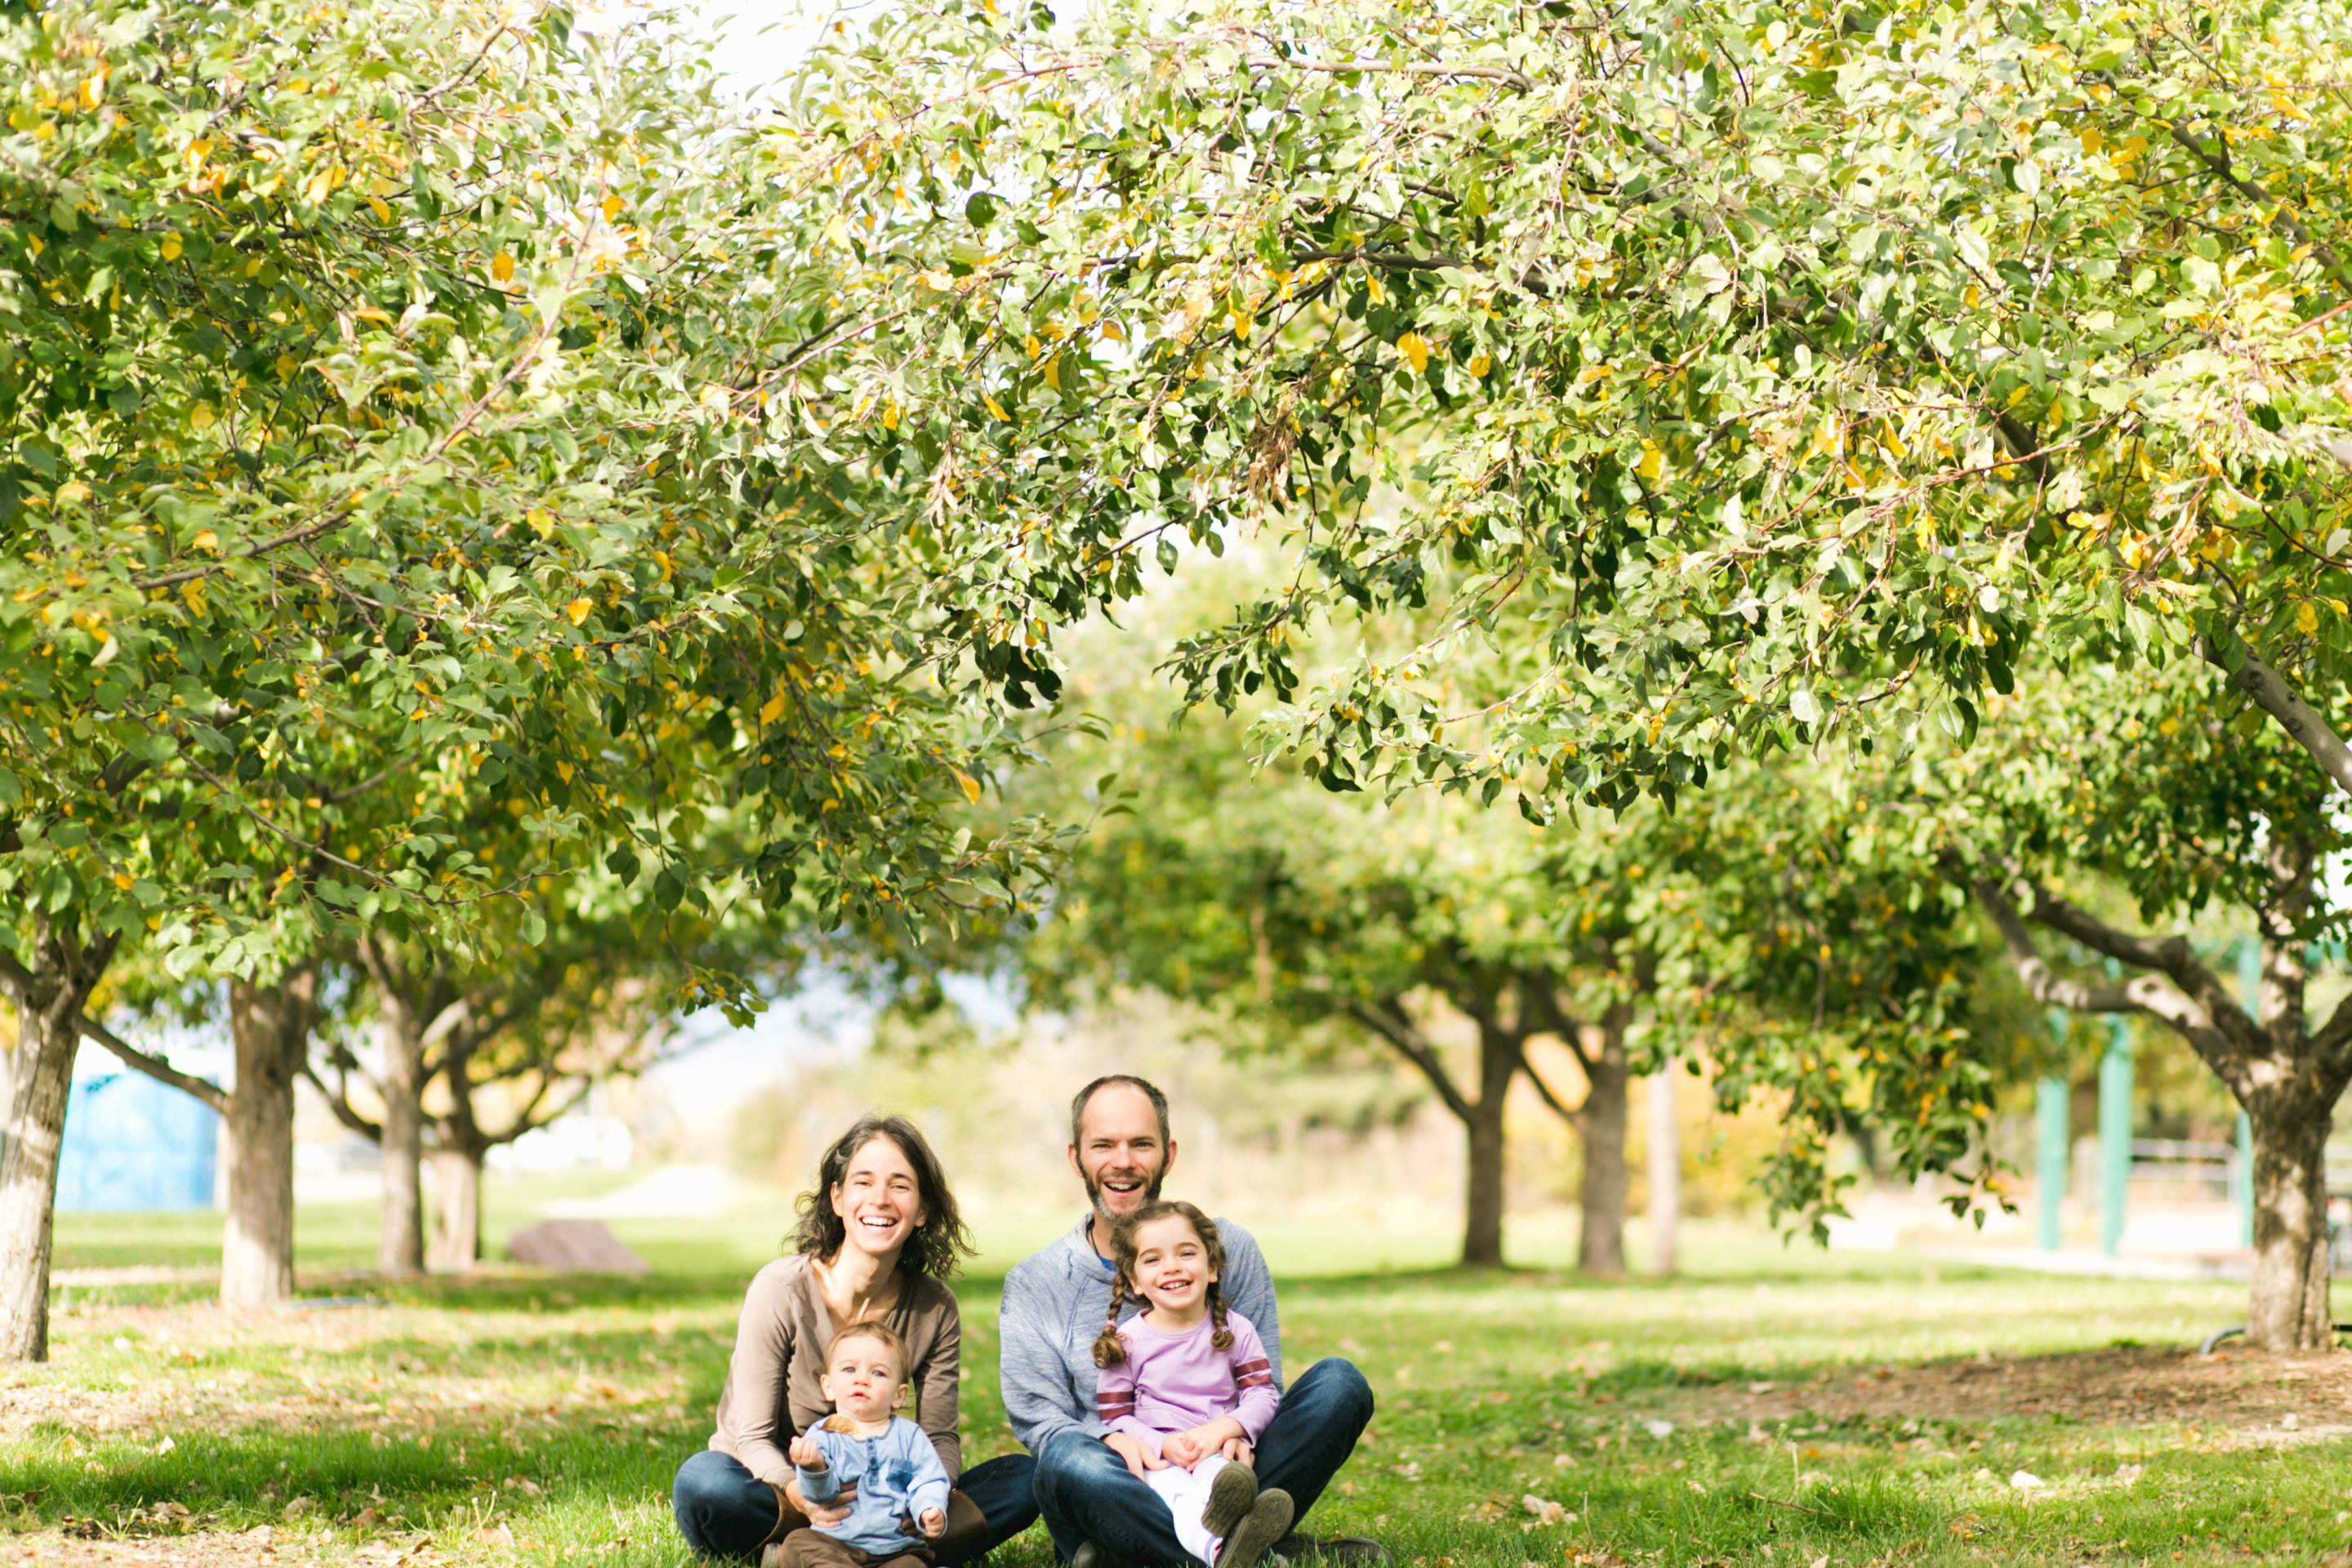
Light will make or break your photo! Study the light. Use it to your advantage.
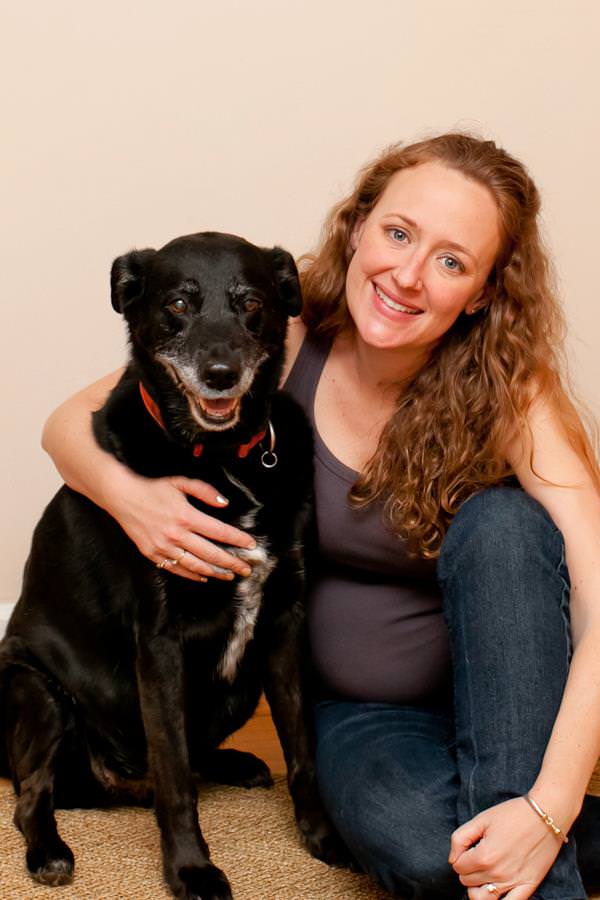
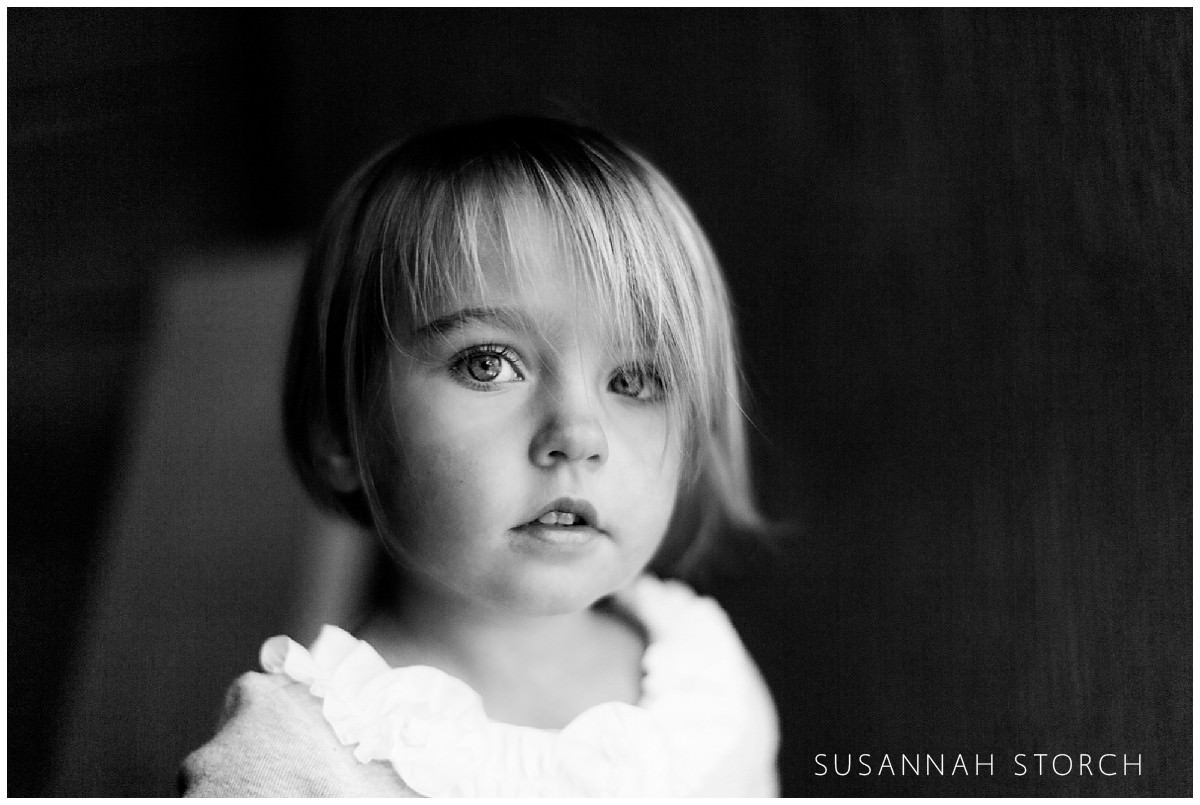
To rock DIY family photos indoors:
- Turn off all room lights. Really.
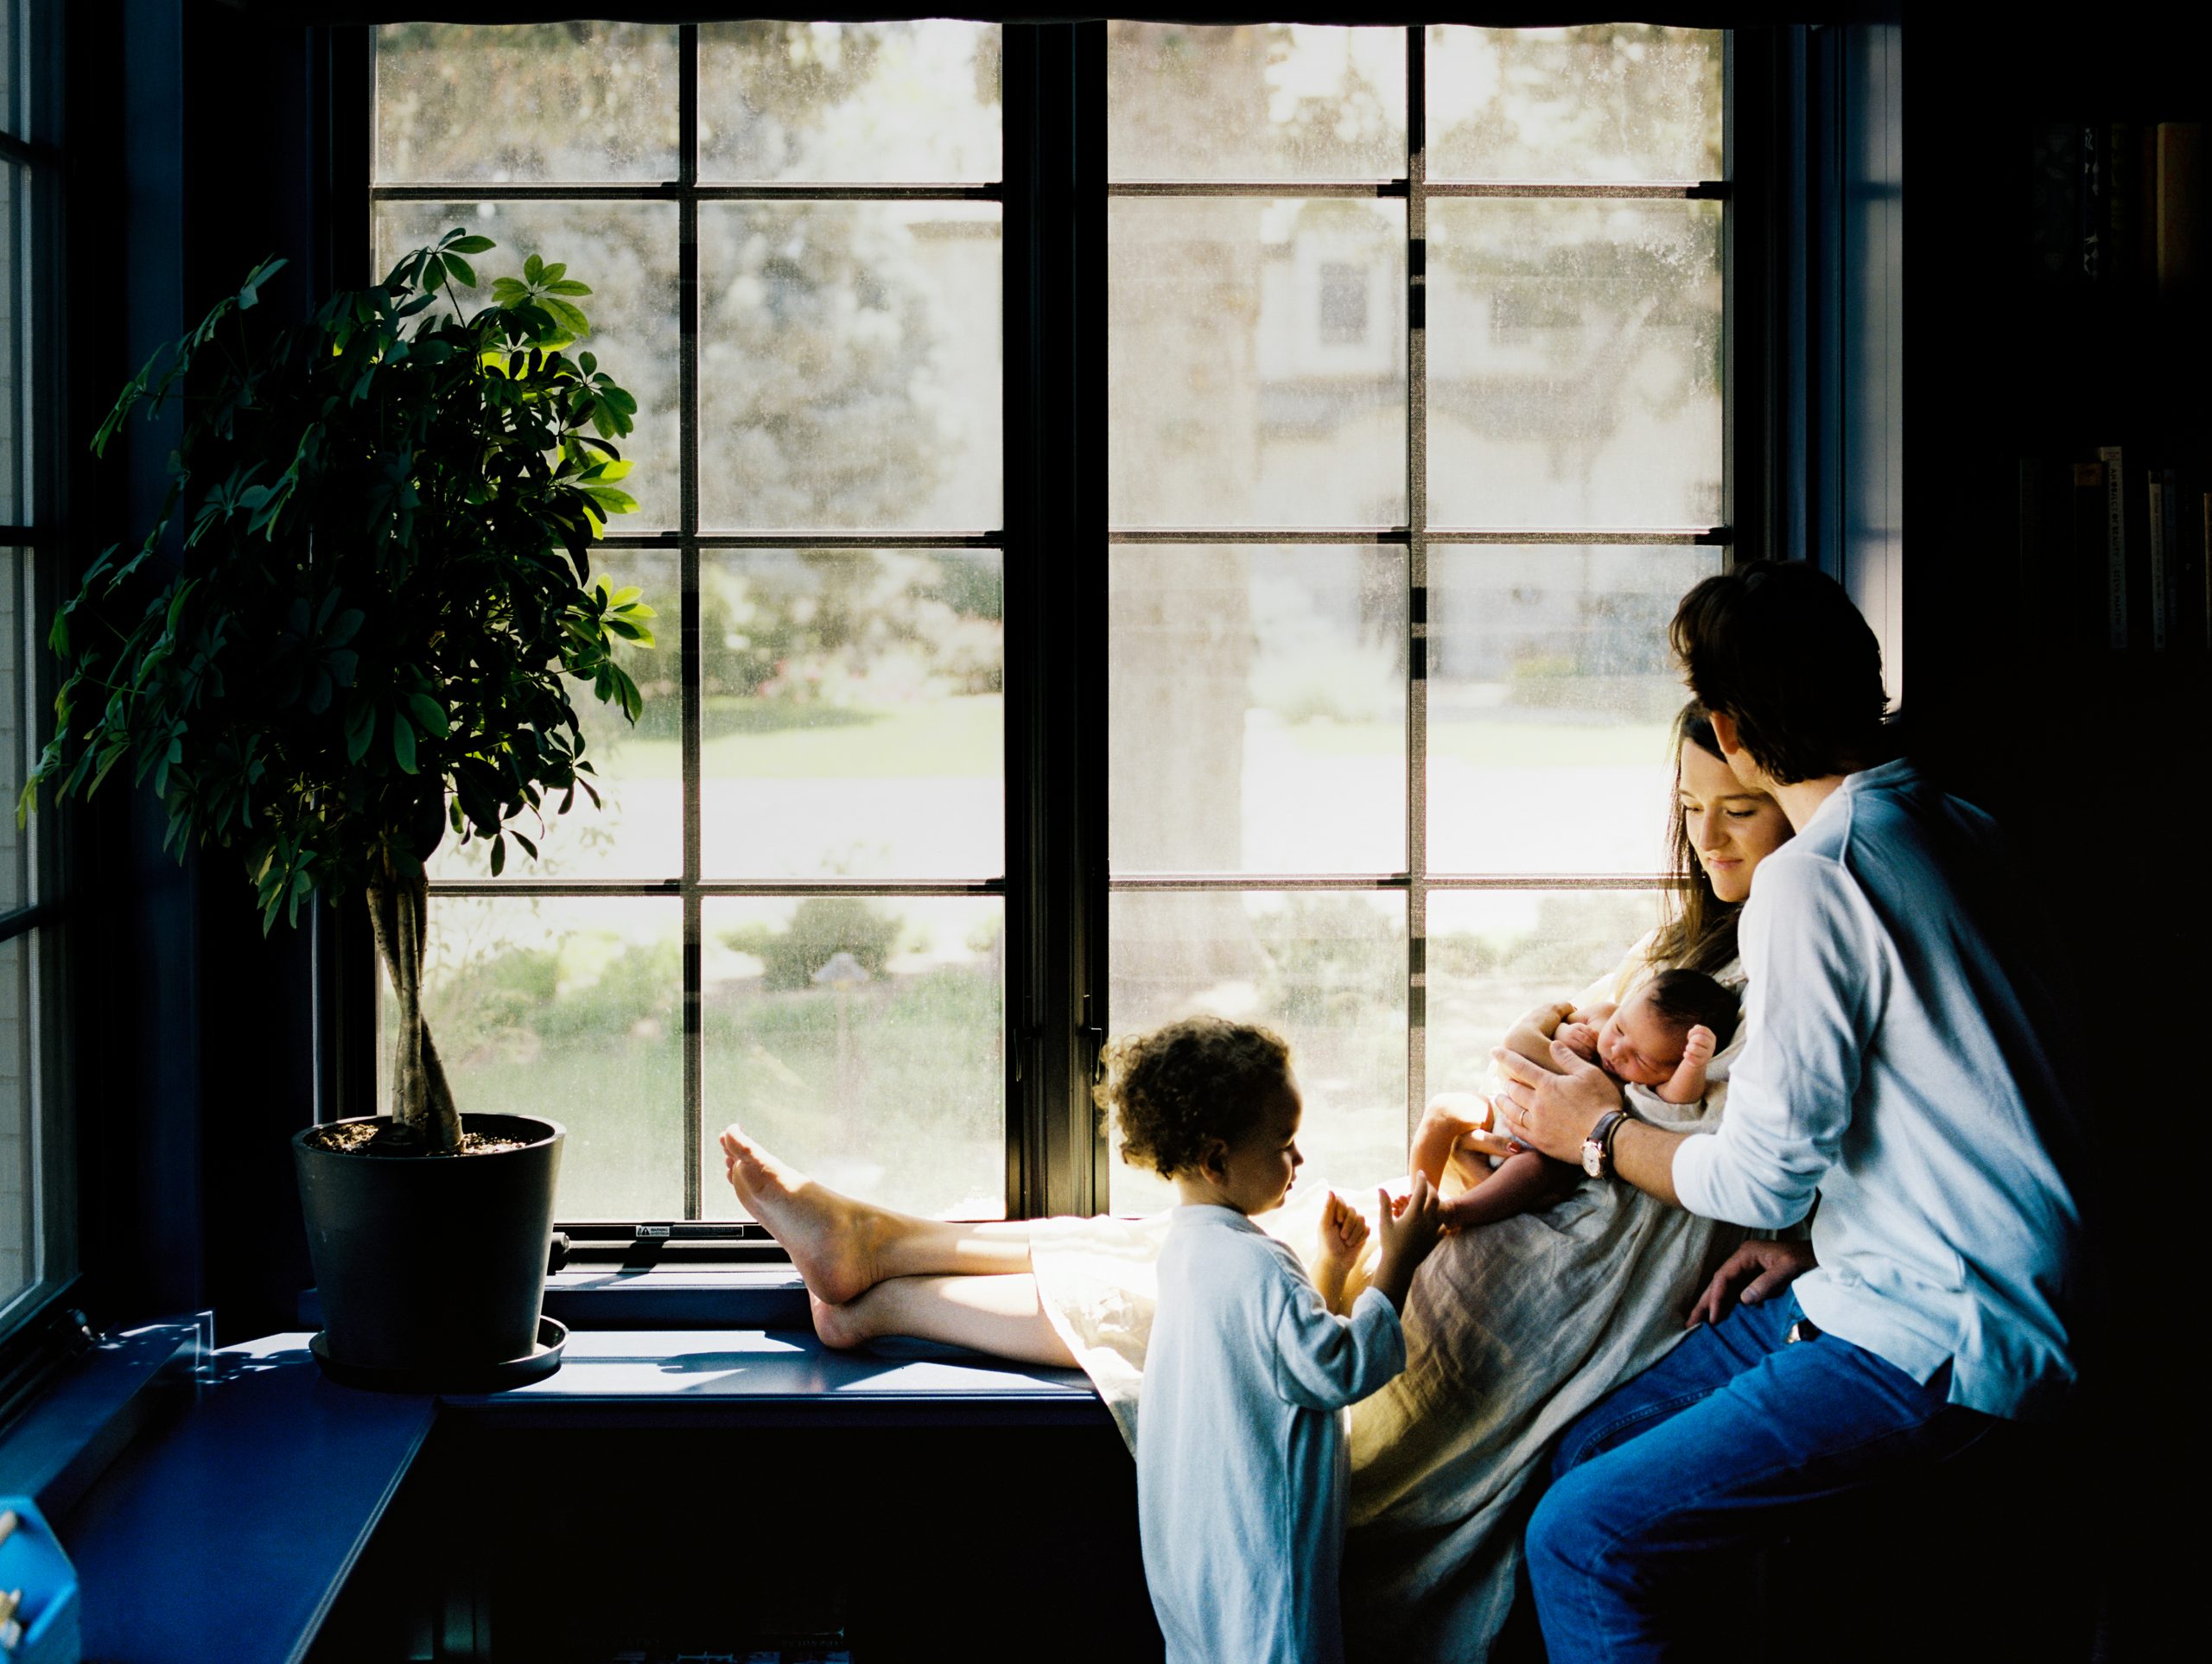
- Set up family members facing windows. They can be several feet from the window.
- Pick a window that has the brightest indirect light streaming into it. Indirect light is soft and pretty and easy. You can find it on the north and south facing windows. You can find it on east and west windows depending upon time of day. What you want to avoid is direct light streaming in from west-facing windows at sunset time. (Of course, this depends on your house, the exact time of day, tree coverage, proximity to other buildings…)
- Remember that the light in your home is constantly changing, so if you take a long time to set up a scene, the light could go from good to not good. (Or from not good to good.)
- To learn about the natural light in your home, walk around your house. Hold up the back of your hand at various distances facing windows. Observe the brightness and darkness of the light on the window-facing side of your hand. After doing this for a bit, you will get a sense of spots in your home that have good window light.
 To rock DIY family photos outdoors:
- Set up your family in the shade, but facing the light.
- You want open shade. This means right at the edge of shade, almost in the light. BUT, you must watch for funky shadows on the faces of your loved ones.
- Good places with open shade are oftentimes porches, open garage doors (great if you have a cool backdrop you’ve made that would conceal your garage), the north side of buildings, and tress (again, watch for funky shadows from leaves).
- Ideally you want the background to be darker than your loved ones.
- Timing your DIY family photos to be taken one hour before dusk is best.
#3 – The Scene
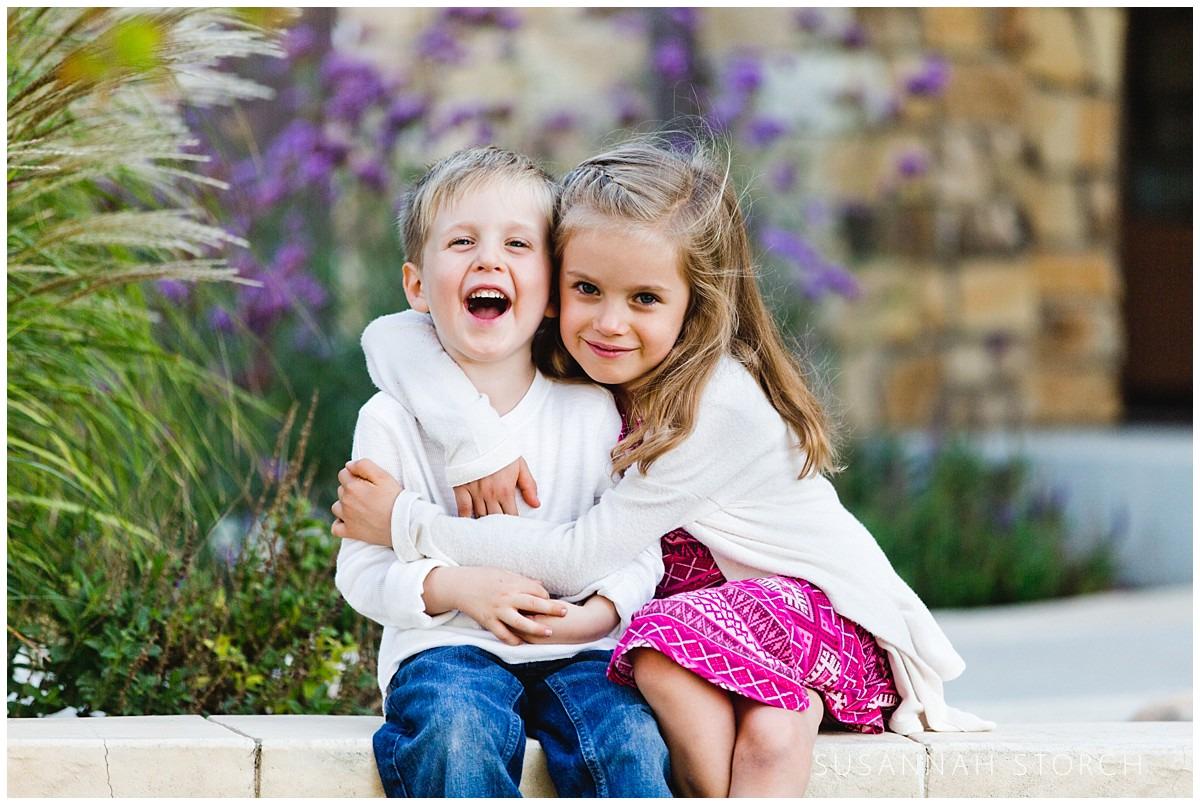
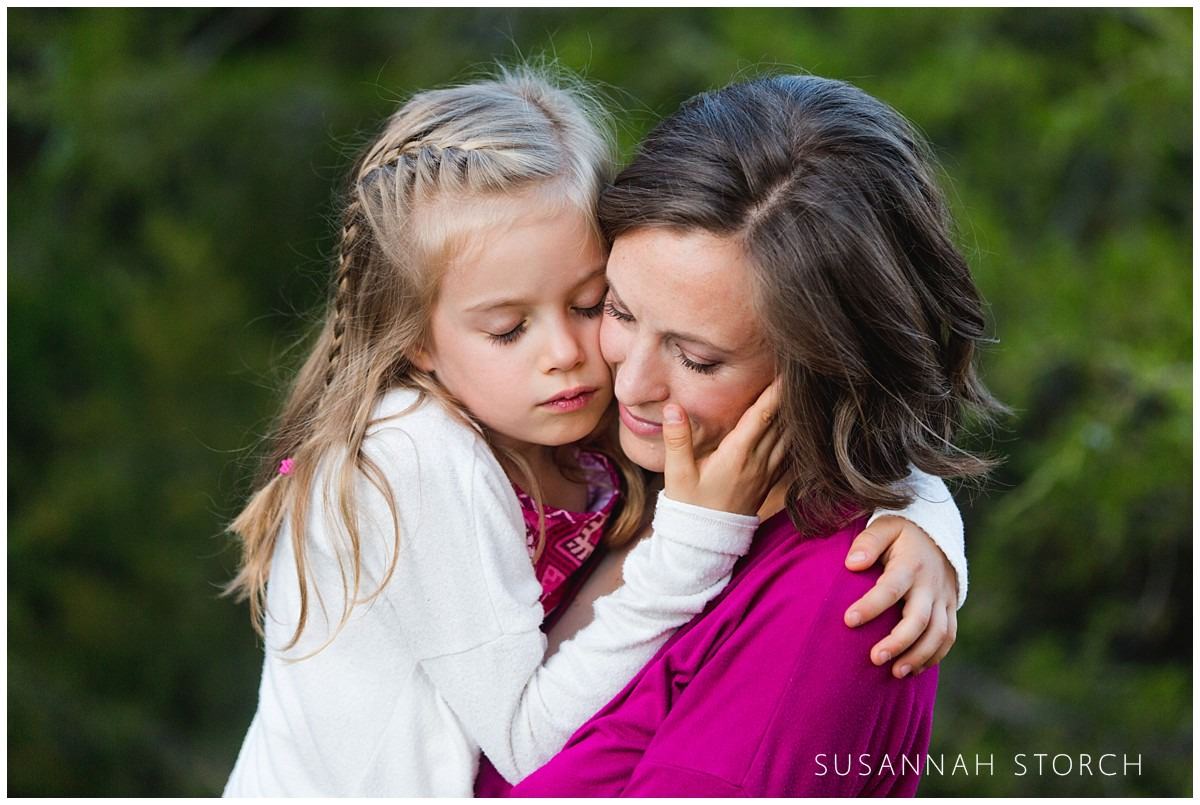
- Keep the background as simple as possible.
- Or buy a holiday-themed background. (I have never gone this route, so I cannot make a solid recommendation. I do, however, see a lot of backdrops on even Amazon.com. Just make sure you pay attention to the size to ensure all your loved ones fit.)
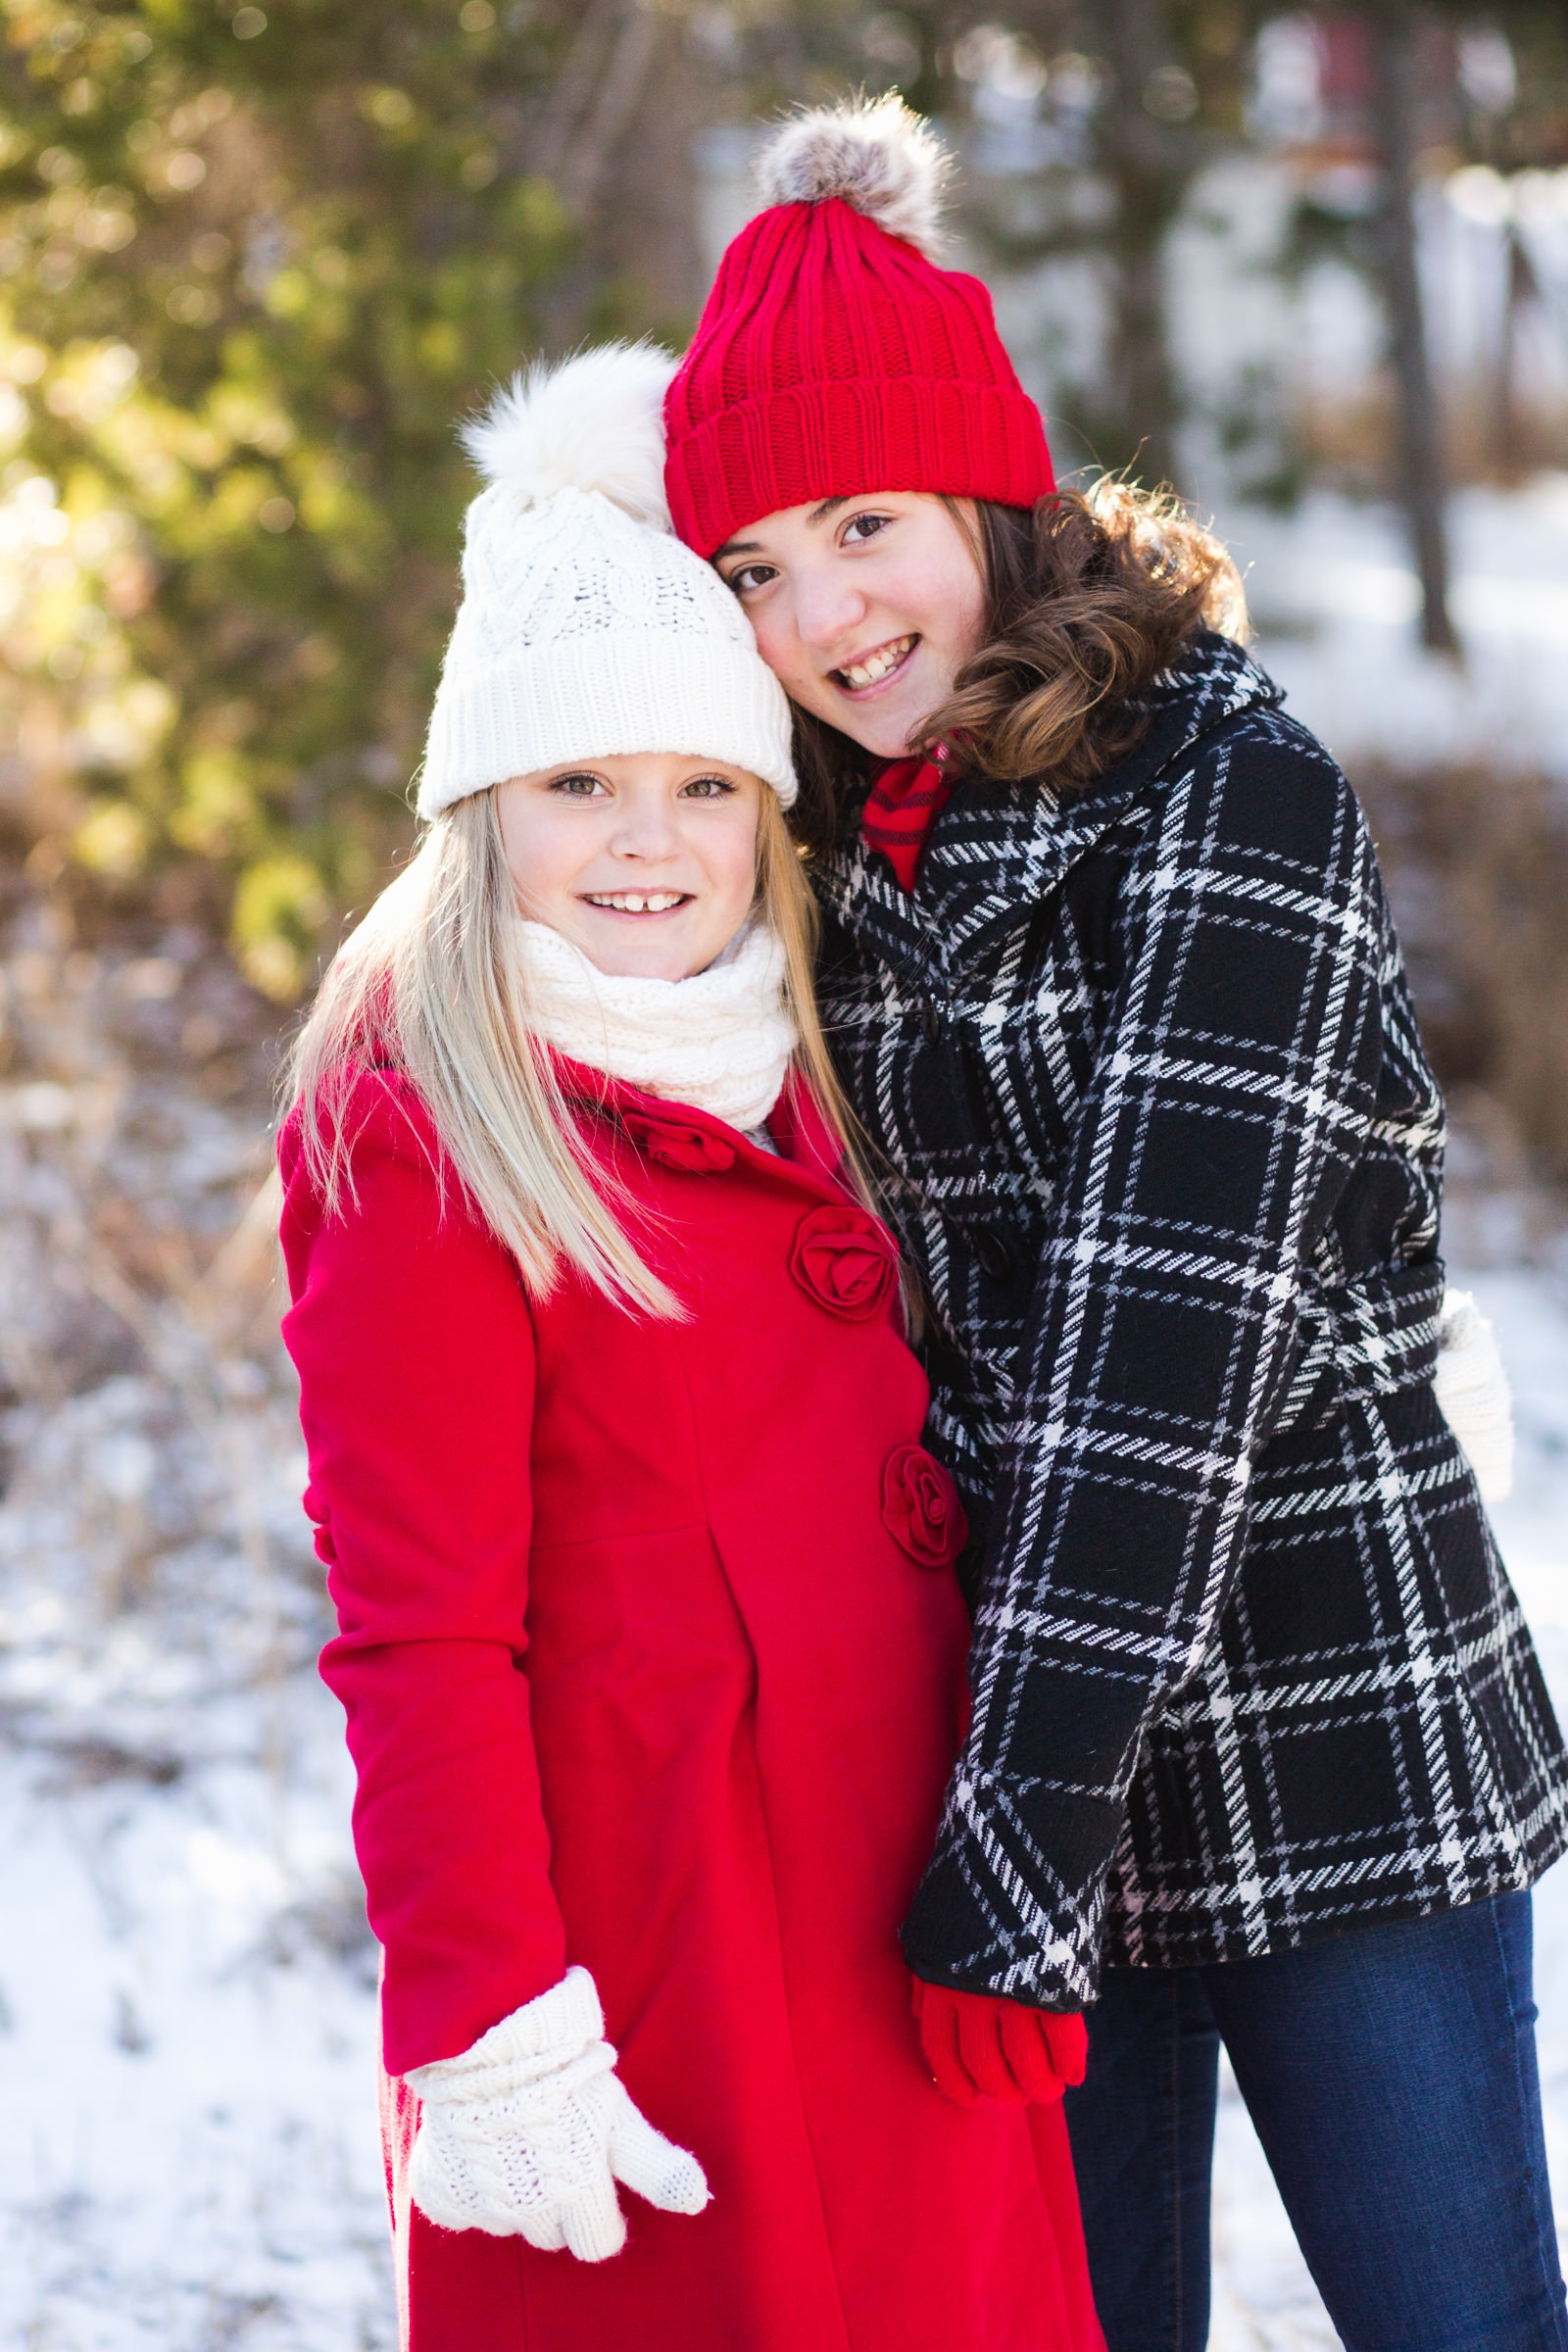
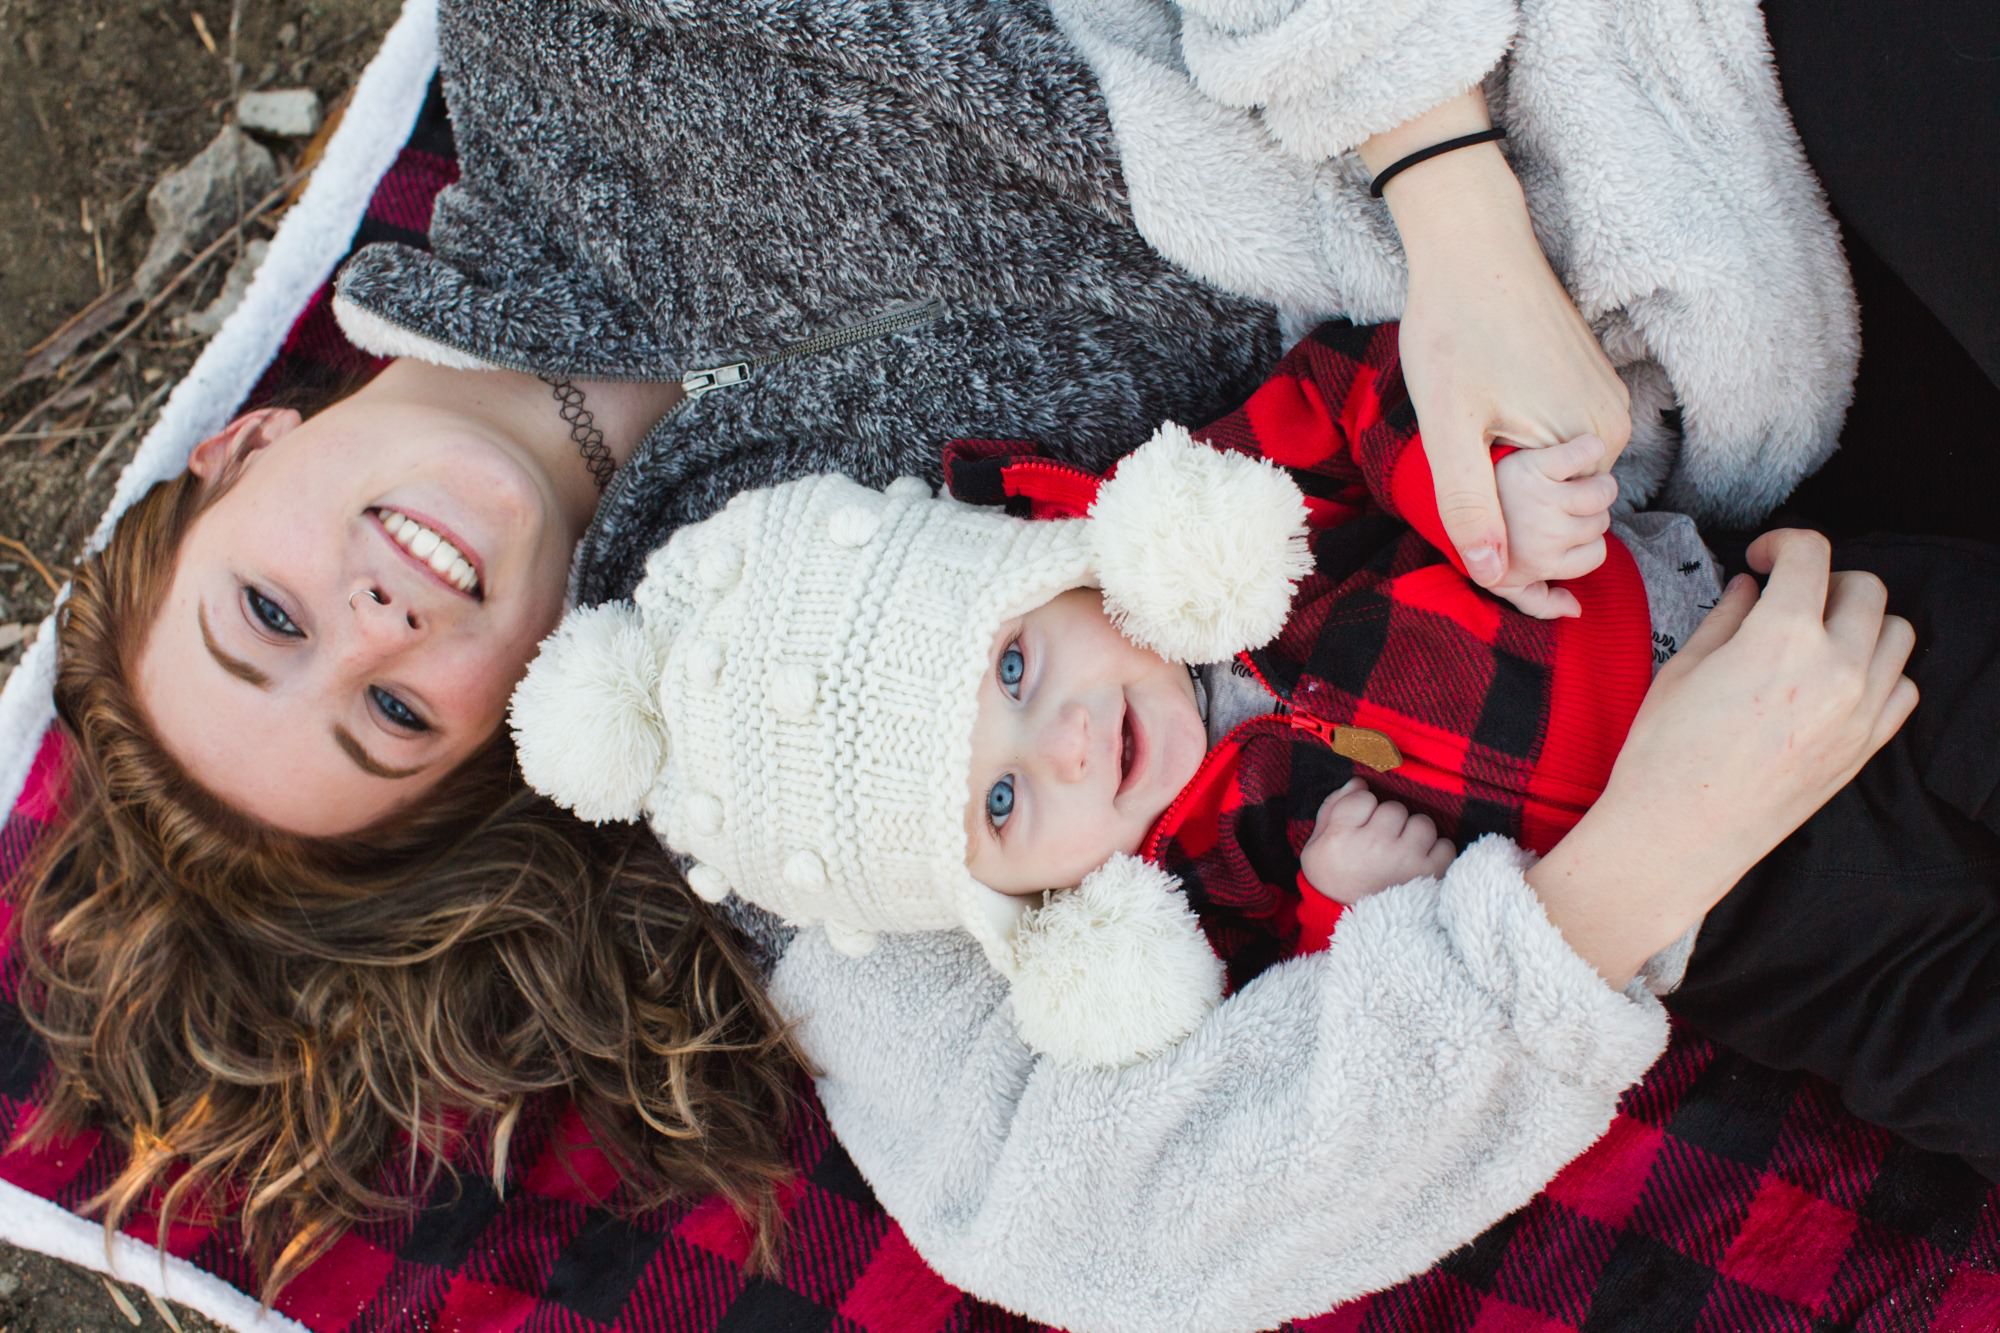
- If you are photographing outdoors, keep nature in mind. Here in Colorado it is often cooler or windier than you’d like. Wear layers, keep kids warm in layers. Chunky hats and gloves or even colorful blankets can be cute to keep everyone happy and comfortable.
- Local parks are great for the background of DIY family photos…but will playground equipment distract kiddos from the task at hand? Will too many people cause any problems? Consider what would work best for your loved ones.
- I love the open garage door idea or a quiet park/hiking area with evergreen trees. Just pay attention to spotty shade and avoid it!
#4 – The Clothing
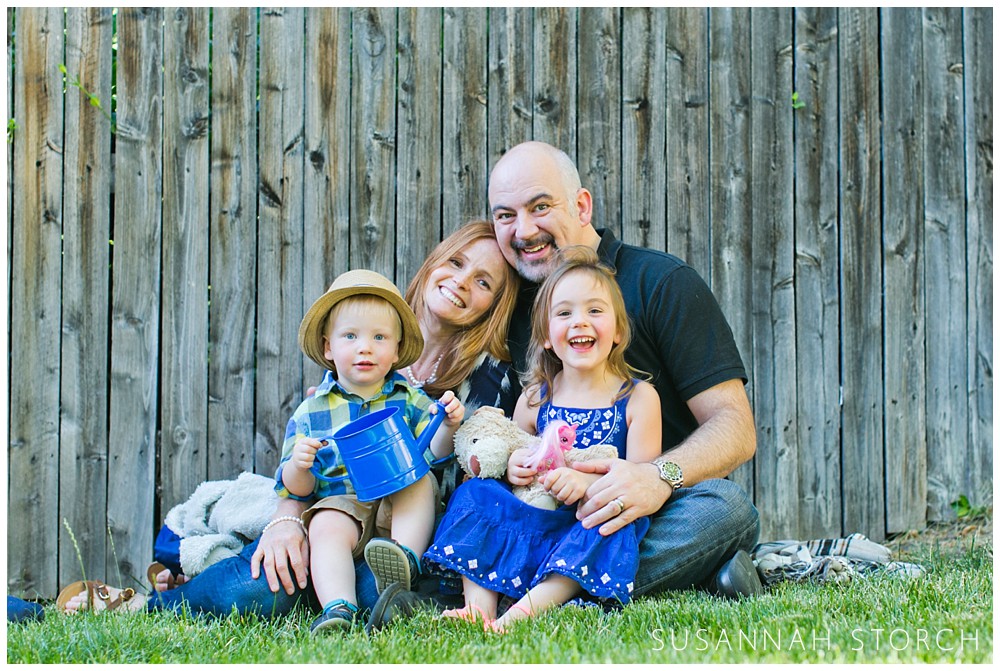
- I am not a fan of matchy-matchy. (I wonder how many times that phrase appears on this website and in my photo session guides.)
- Wearing extra make-up could be good…although please be yourself over being some glammed up not you.
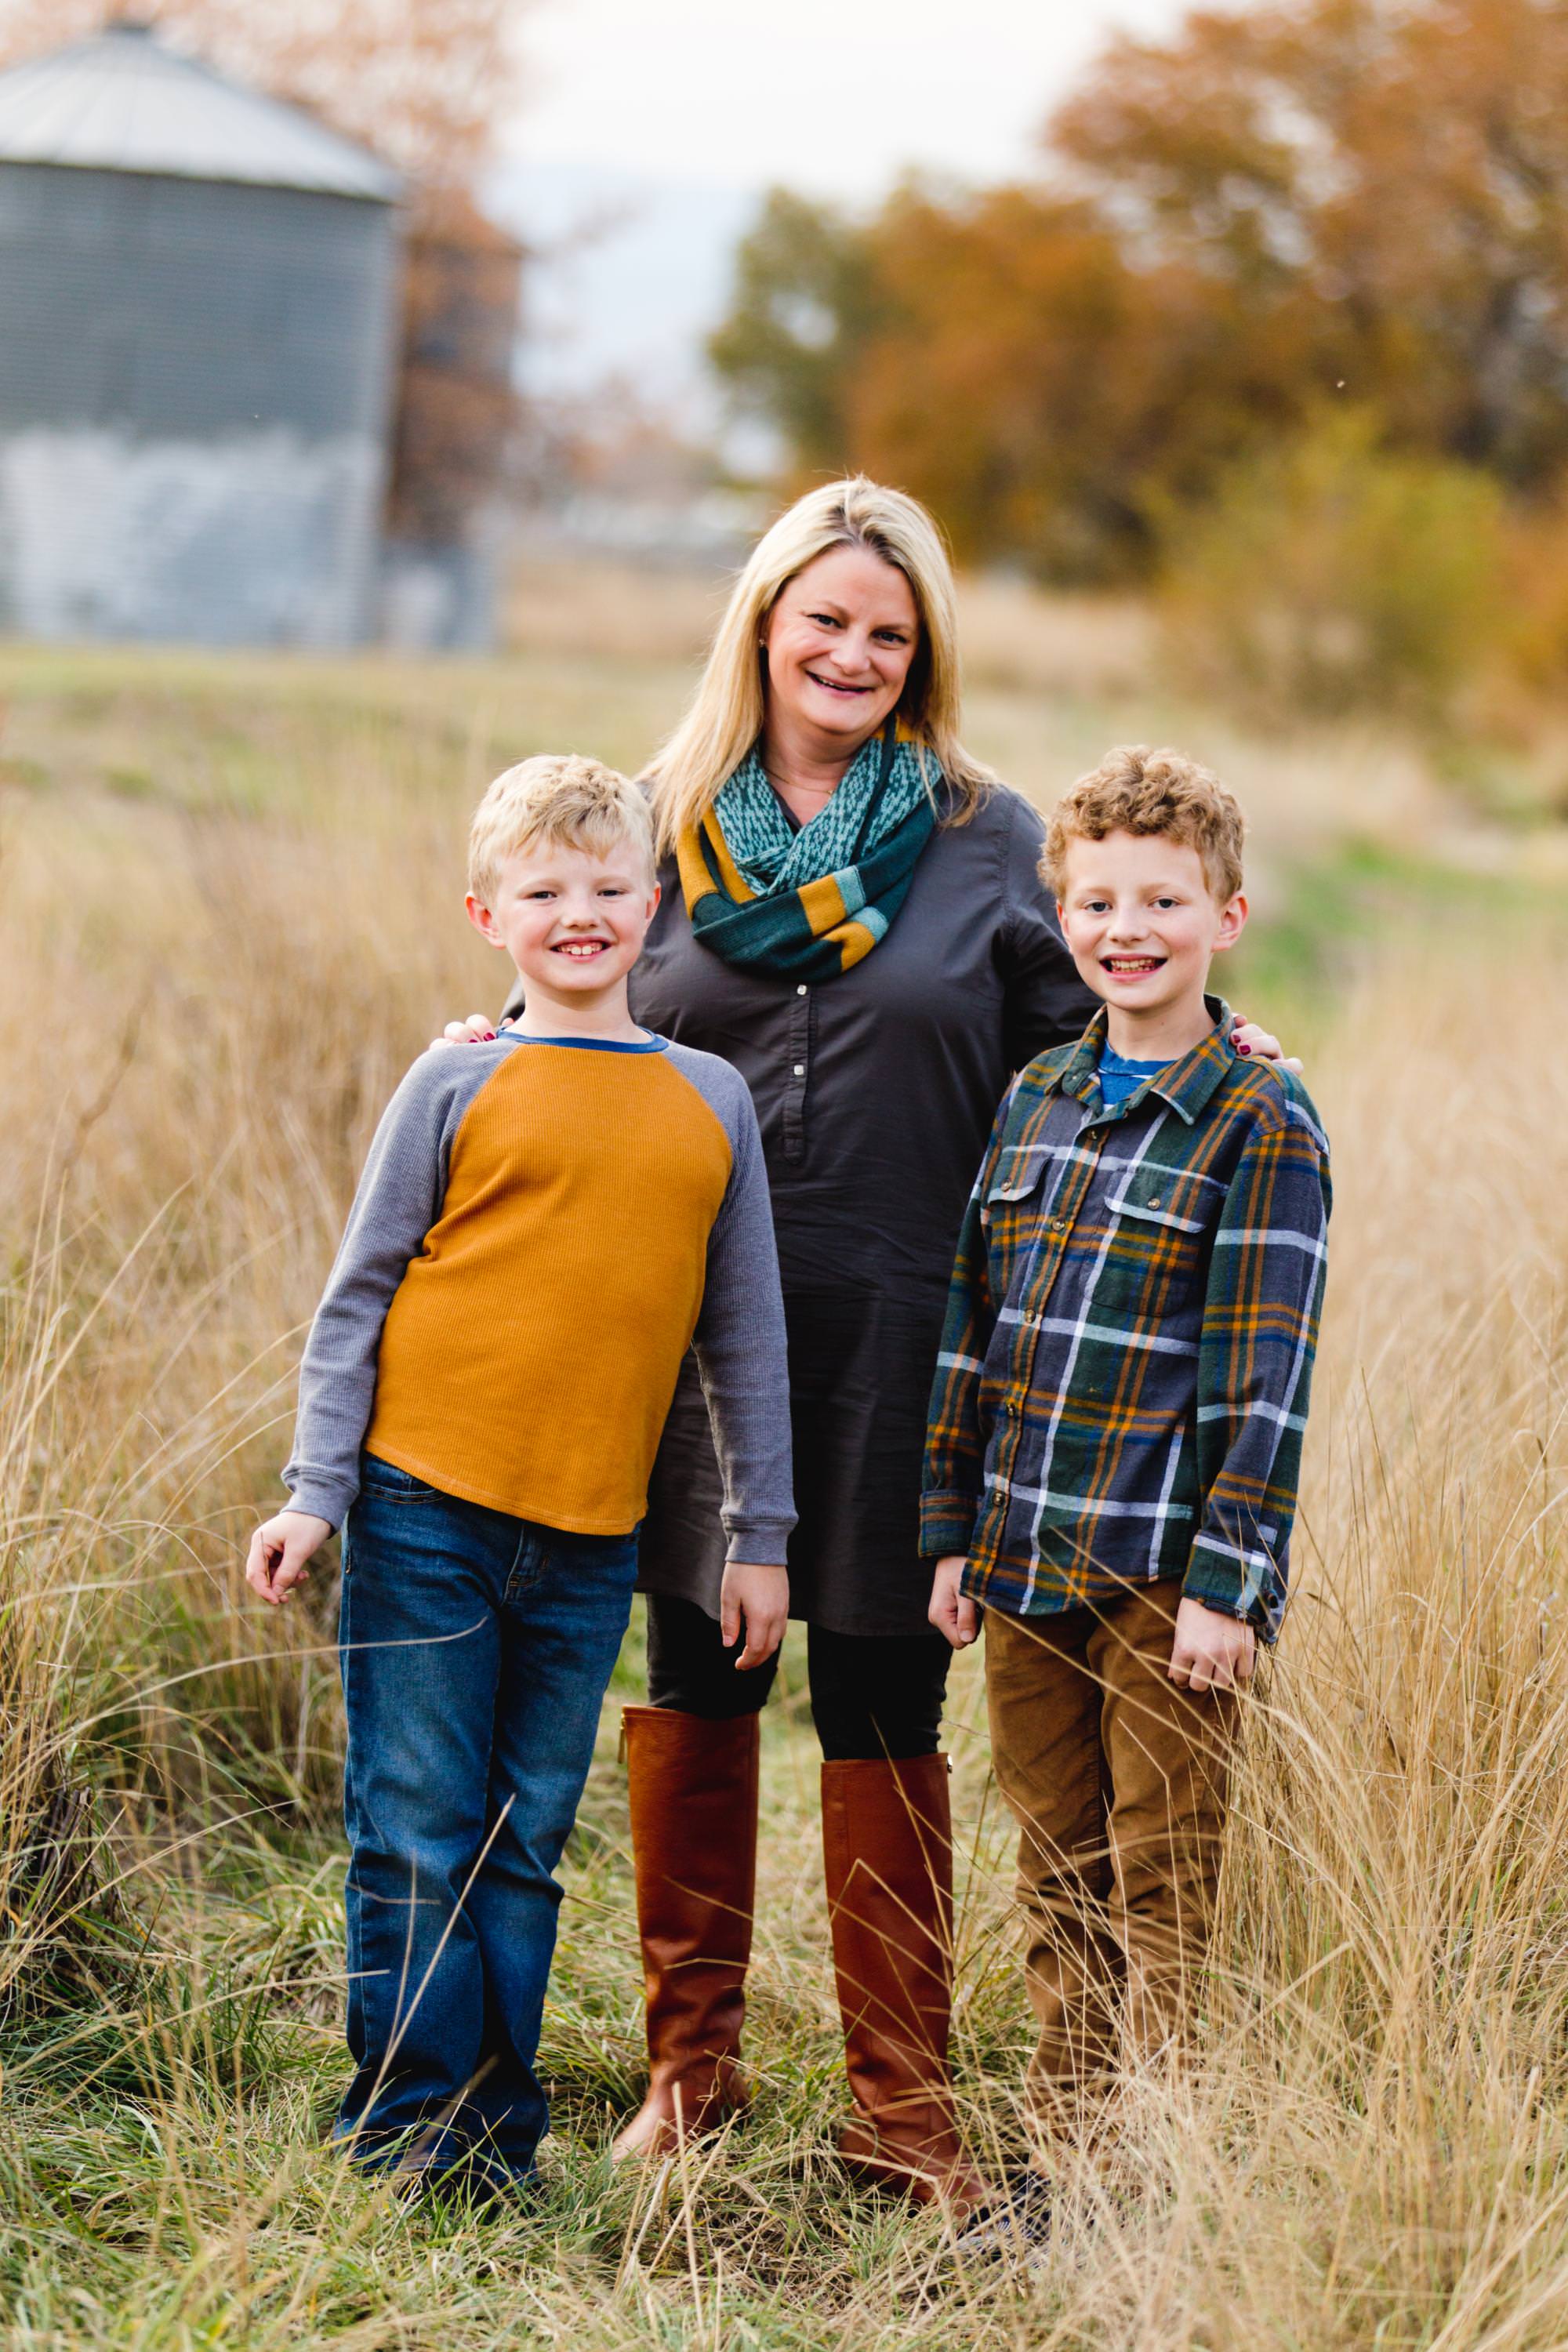
- Complimentary colors are great…likes blues, oranges, and browns. Reds and greens for the holidays.
- I love bold patterns and textures, but maybe only on one or two people…so itsn’t overkill.
#5 – Cater to Kids (or Pets)(Or Spouses Who Don’t Really Want to Be Doing This)
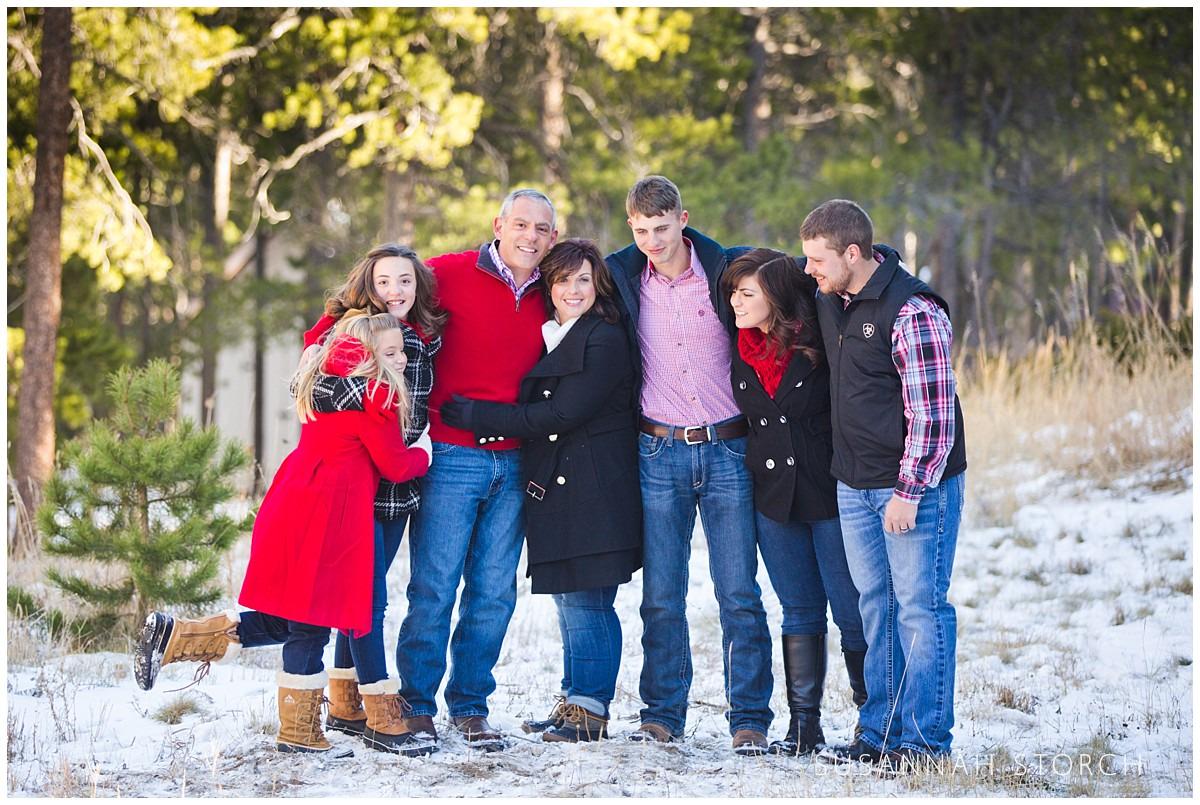
- Choose a location your loved ones will like. Again, consider distractions. I always recommend low-key.
- Again, have young kids wear layers.
- Bring snacks and water if you are photographing away from your house. Use bribery if necessary.
#6 – Check Your Expectations
- Most kids will not last for a long photo session. Have everything ready to go in advance so that they can just pop in and be done.
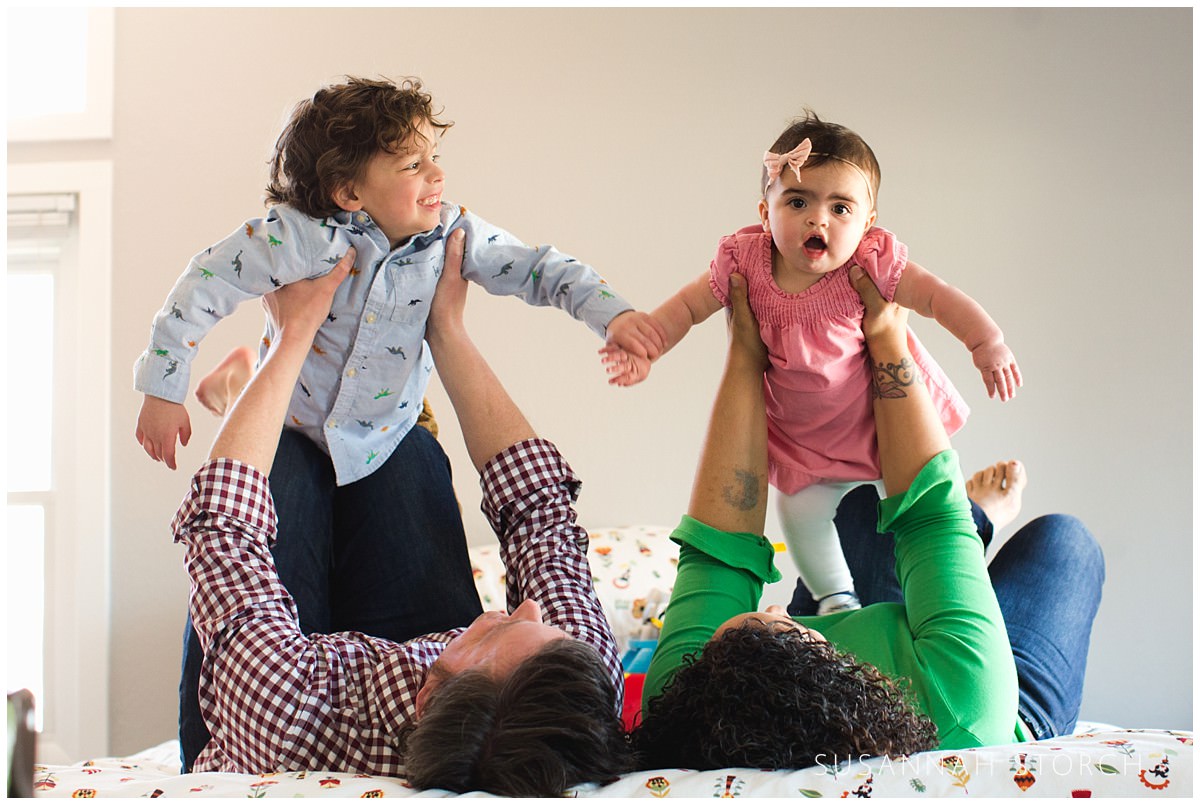
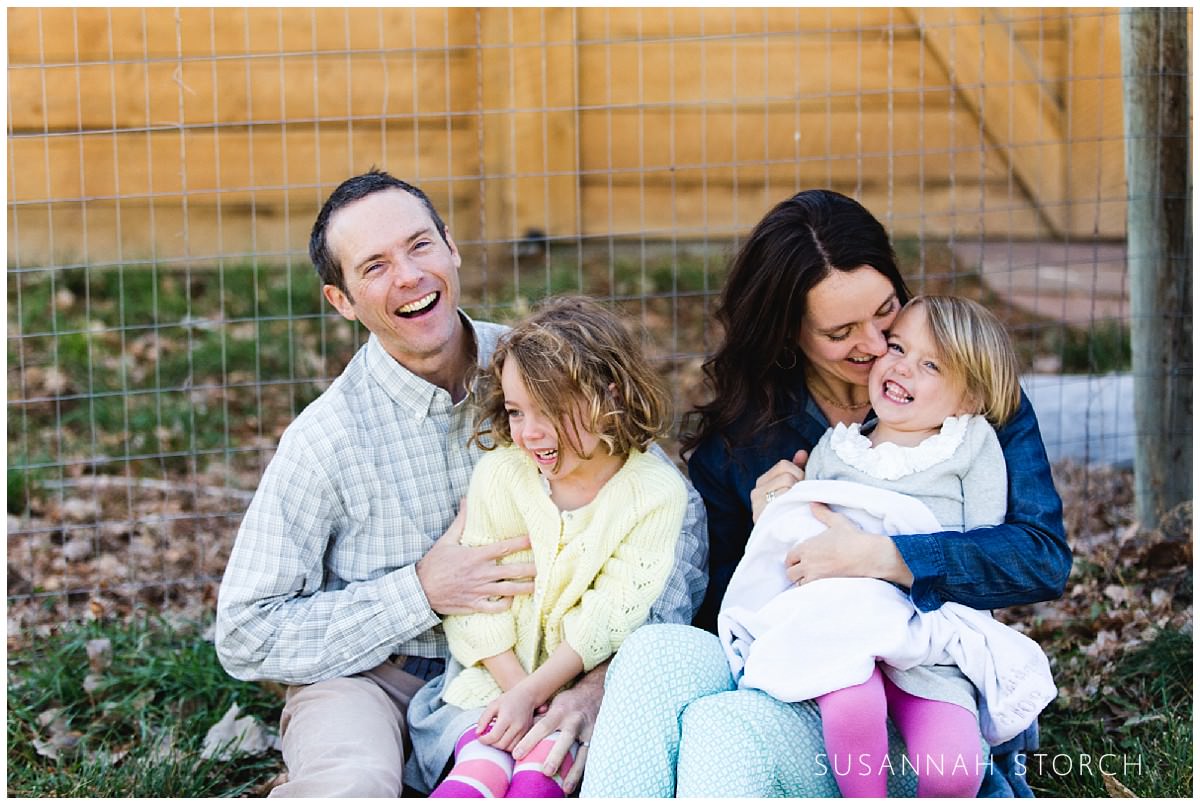
- Getting all of your loved ones looking at the camera and smiling is hard. Consider tickling each other, playing telephone, hugging, or telling jokes to capture genuine moments instead of awkward static poses. Or, have one person look at the camera while everyone else looks at that person. Come up with scenarios (beforehand) that would make the time fun and combat kids not looking at camera. You could consider attaching something totally silly to your camera. Or, if your camera gear is secure, you could have kids hit the self-time button to get them more involved and ramp up their energy with some action.
#7 – Printing
- If you didn’t capture a photo of all loved ones looking at the camera and smiling (or even if you did), consider printing collage style, with multiple images on one card.
- Since these are DIY family photos, you could also DIY the card printing…use Pinterest to get your imagination going. One thing I like to do is print a photo, affix it to card stock, and use fancy-edged scissors to create fun effects.
- If you are using a printing service, I always love Artifact Uprising. I don’t know what their holiday deadline schedule is, but this is a great company to support!
- And, if you are using a printing service, it always makes sense (and cents) to do a quick online coupon code search. I often save 10-20% on books from Blurb.com this way.
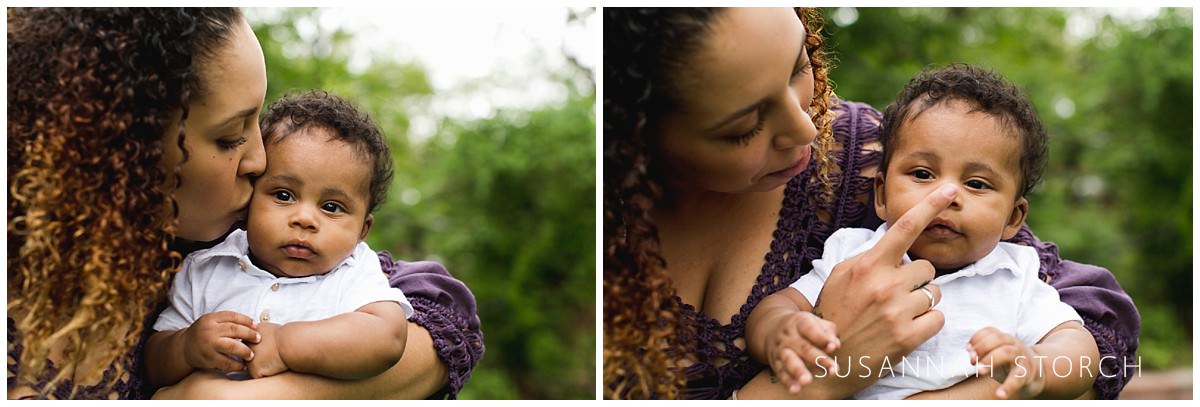
Using these tips will get you well on your way to taking better DIY family photos…for holiday cards or just for capturing the everyday that goes on with your loved ones. Of course, if you have any questions about anything in this blog post, please ask away in the comments! I love sharing photography information with the world!
And, all images copyright me, Susannah Allen, 2011-2018.
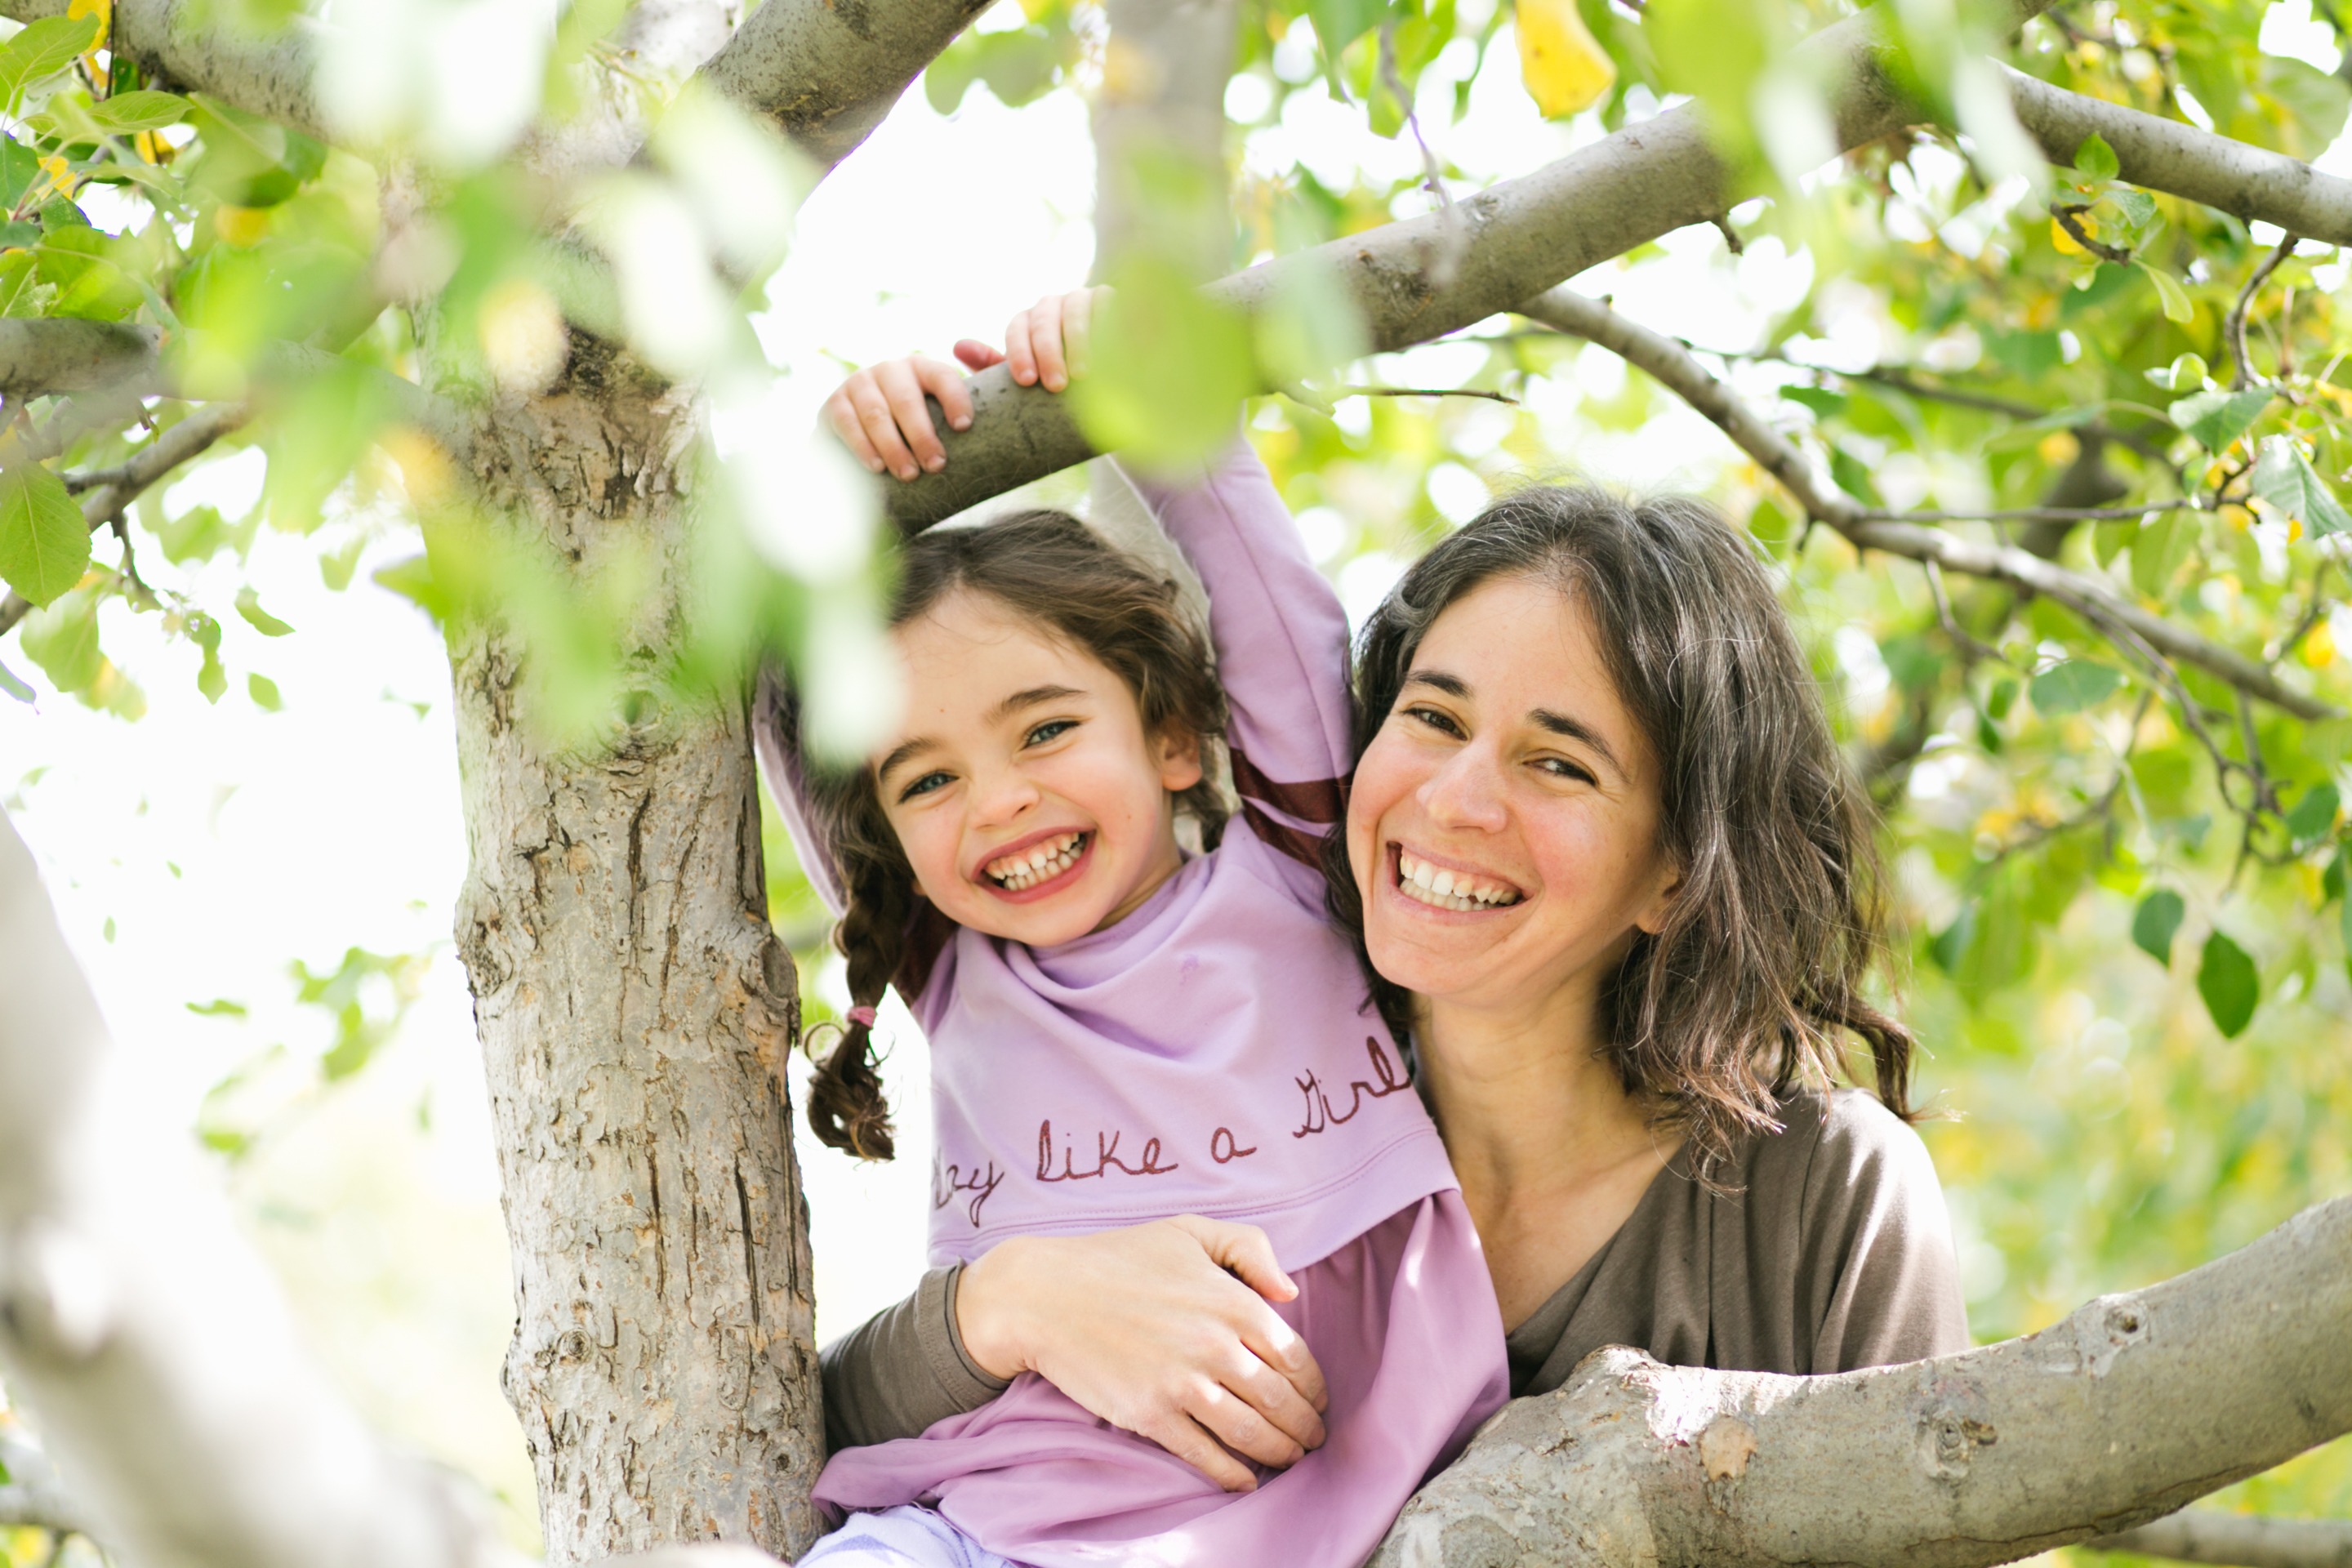
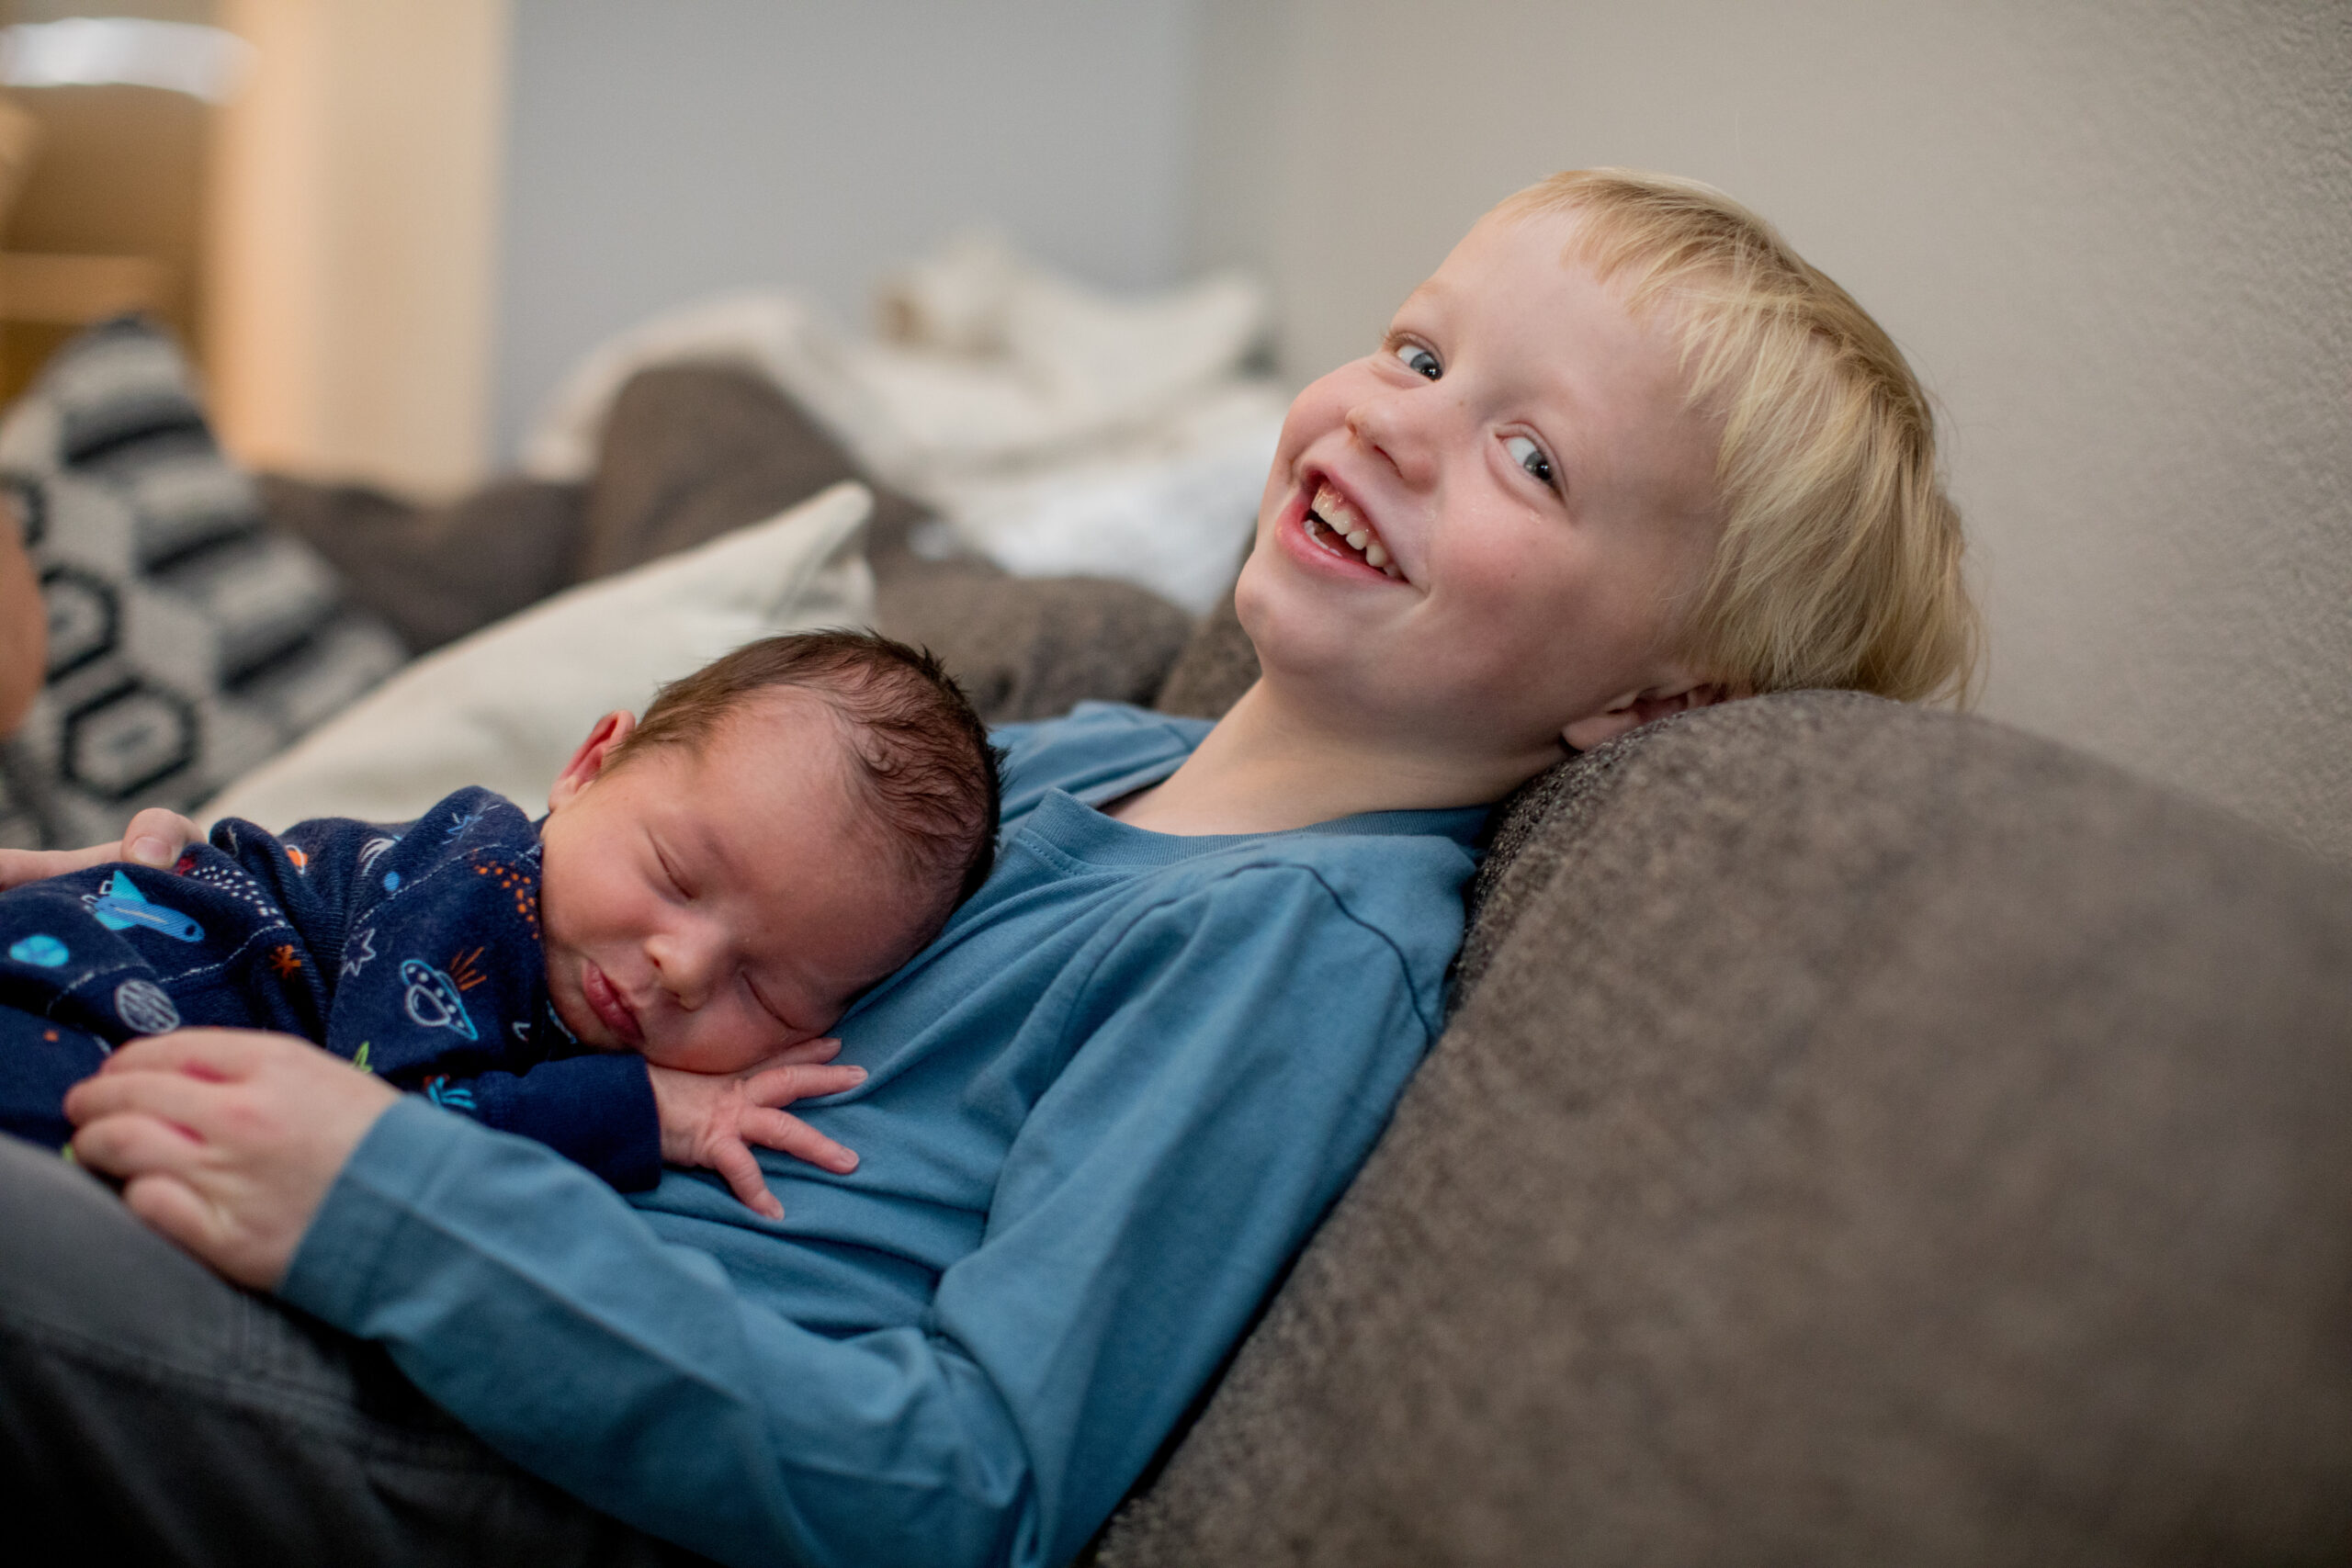
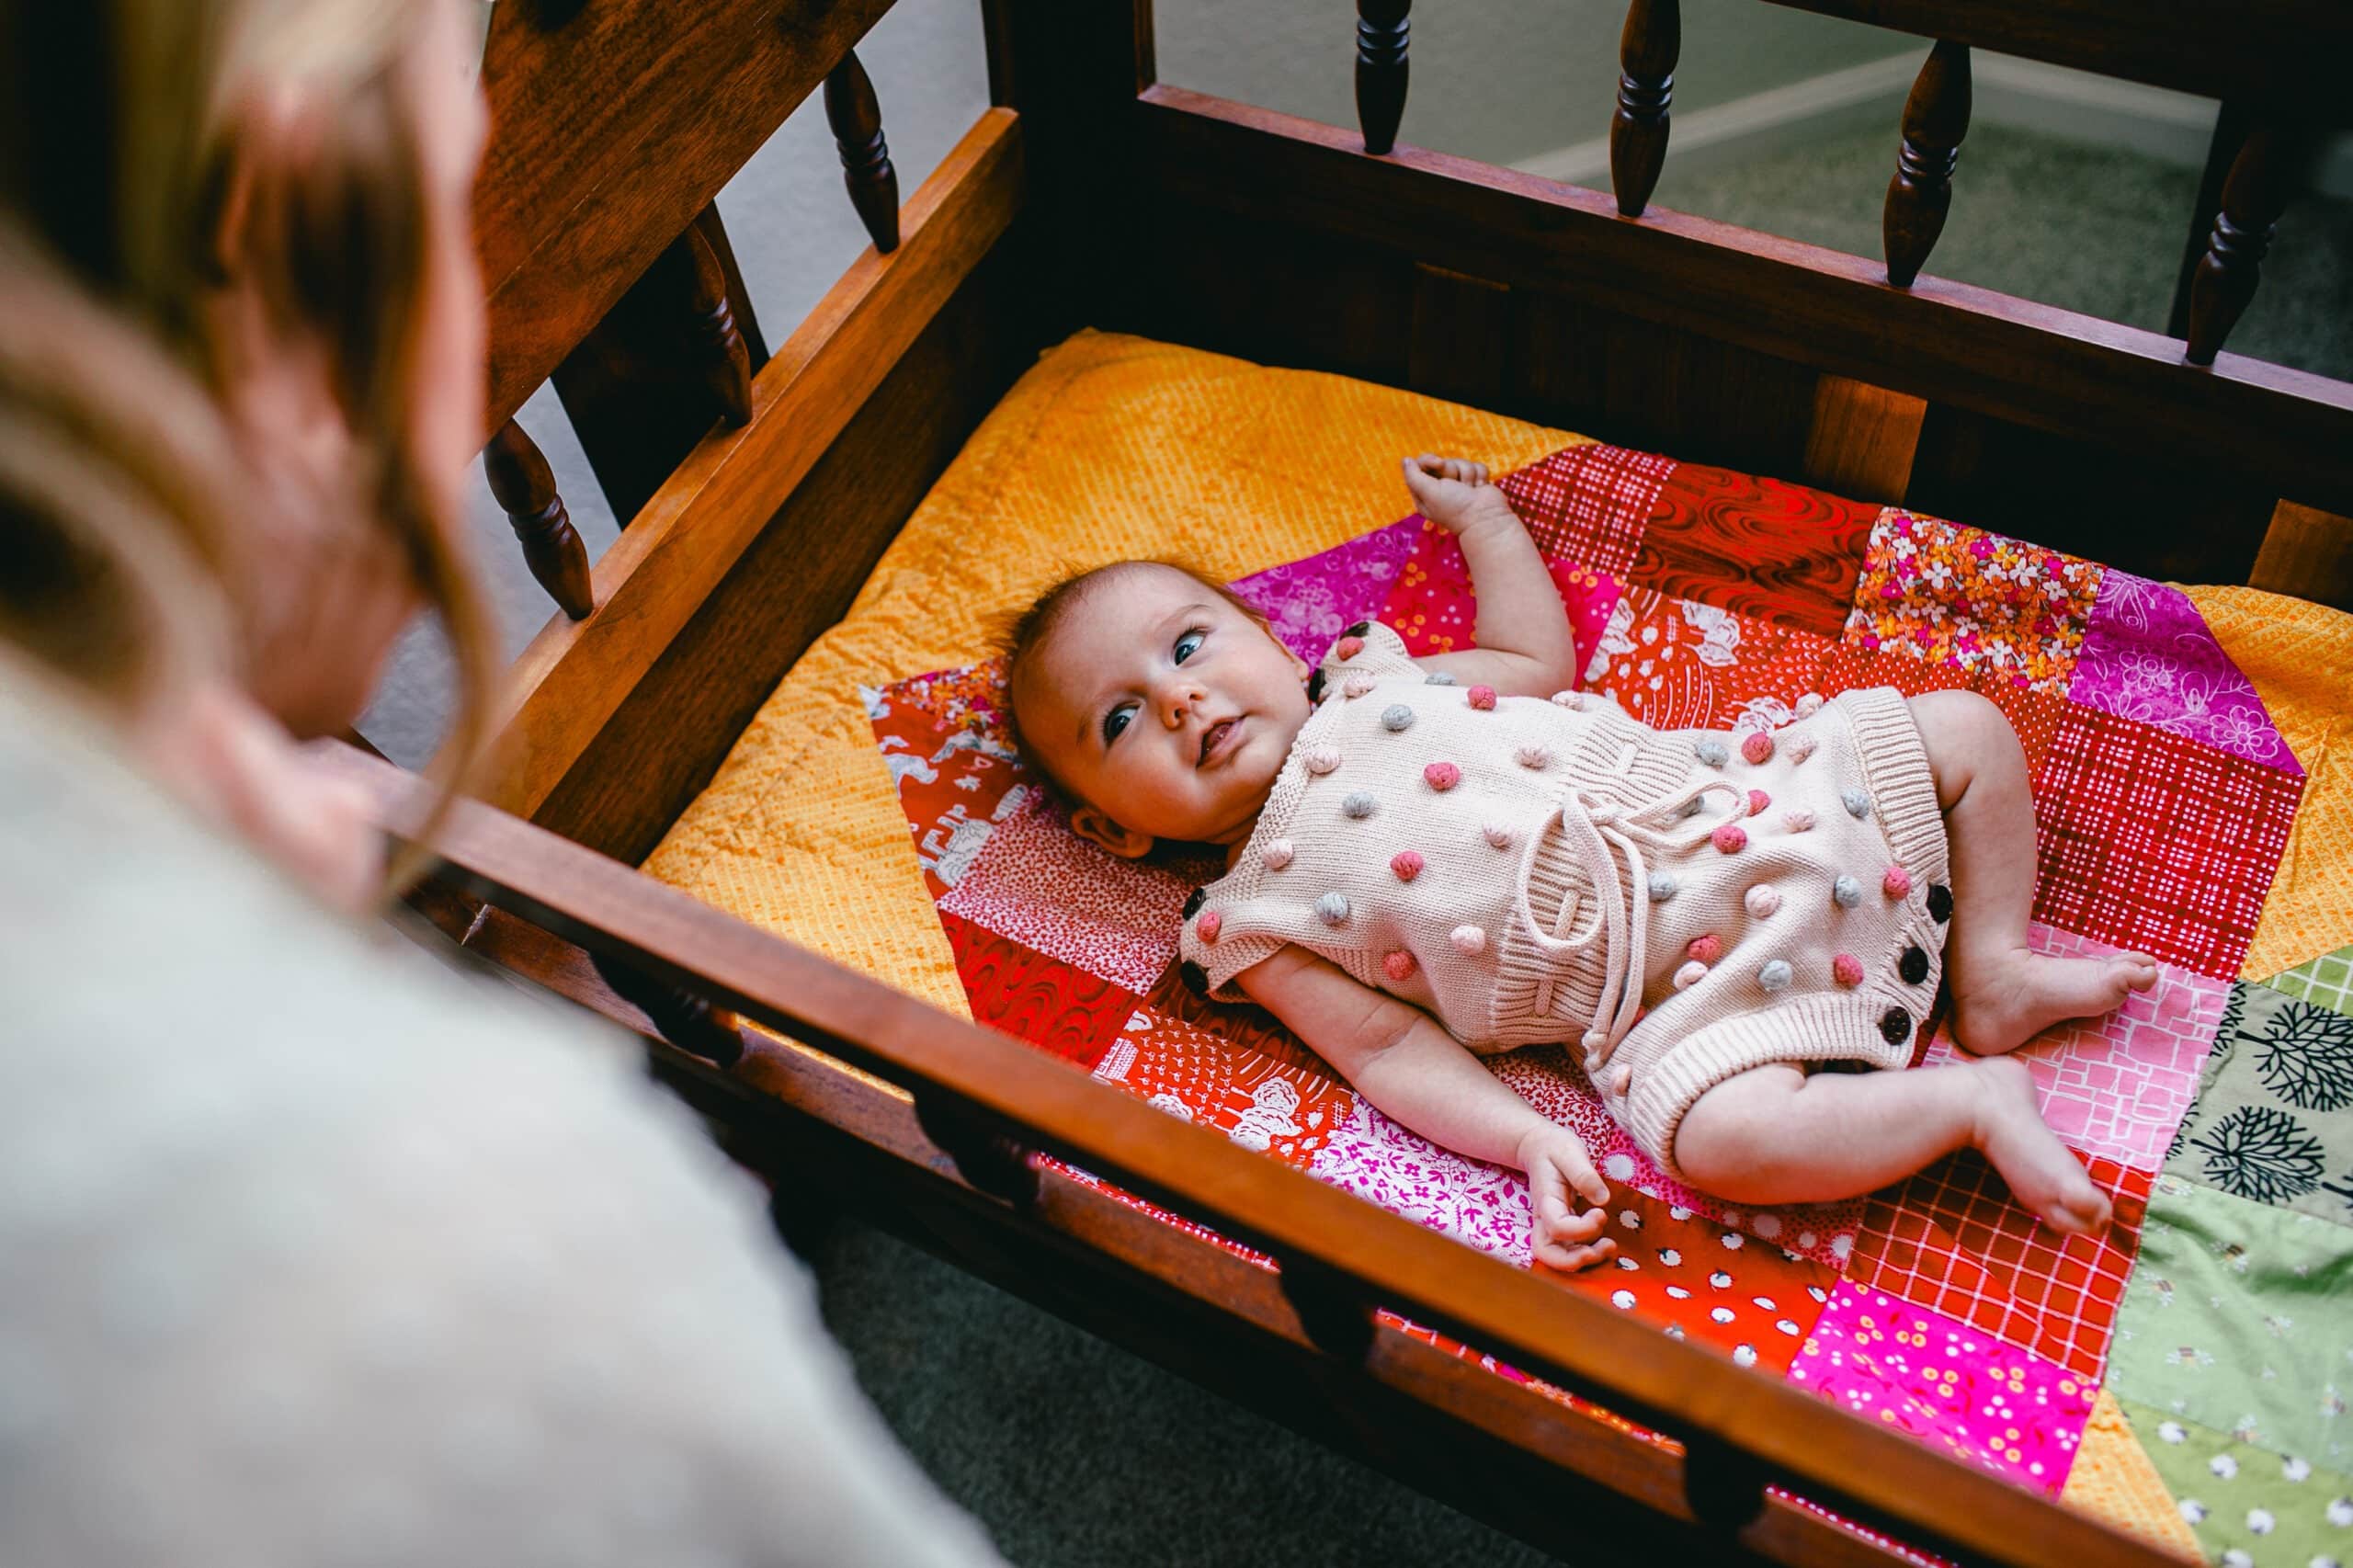
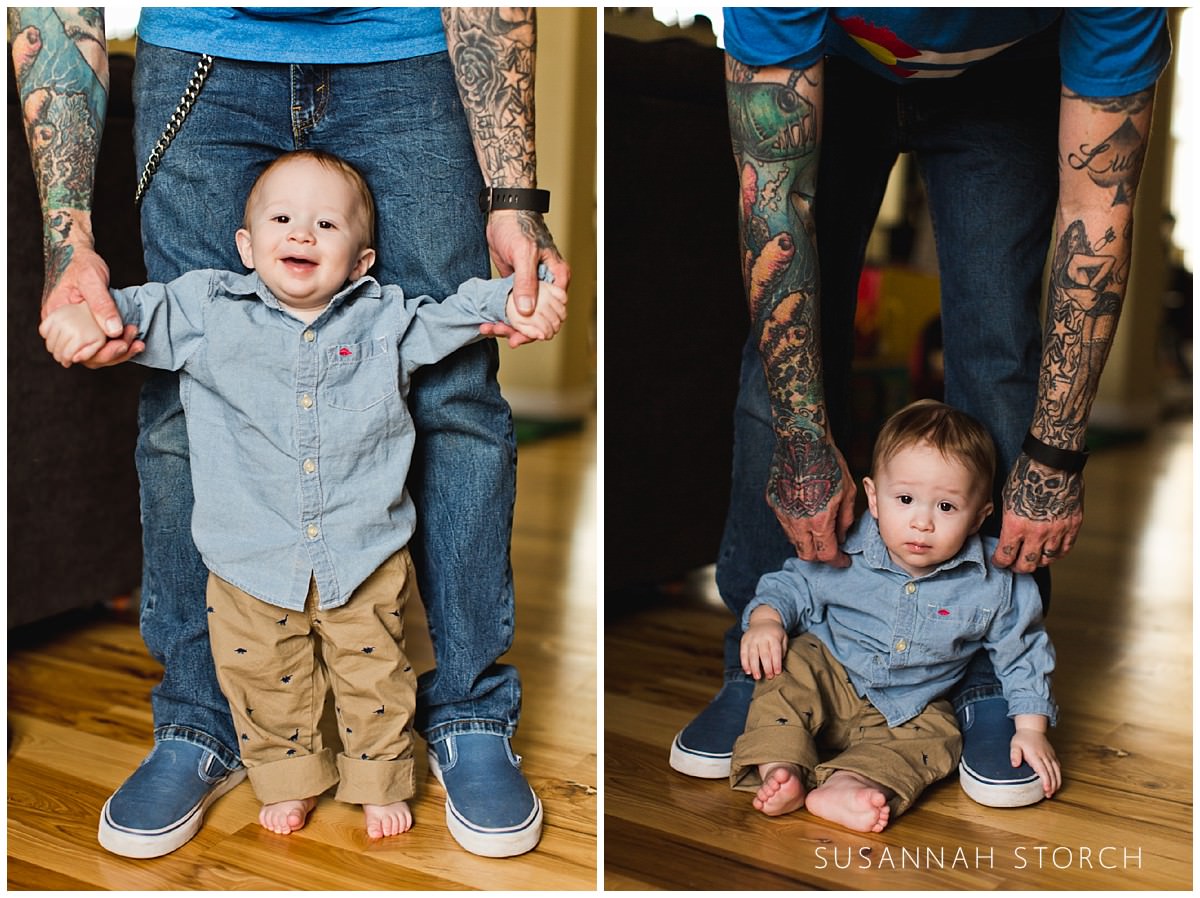
One more thing: most of these images are not selfies. I just don’t have the stock. I pulled images that illustrated the point I was trying to make. But I smell a blog post for next year!
And if you liked this blog post, you may be interested on top Boulder area photo locations or Boulder fall photo session locations.
